
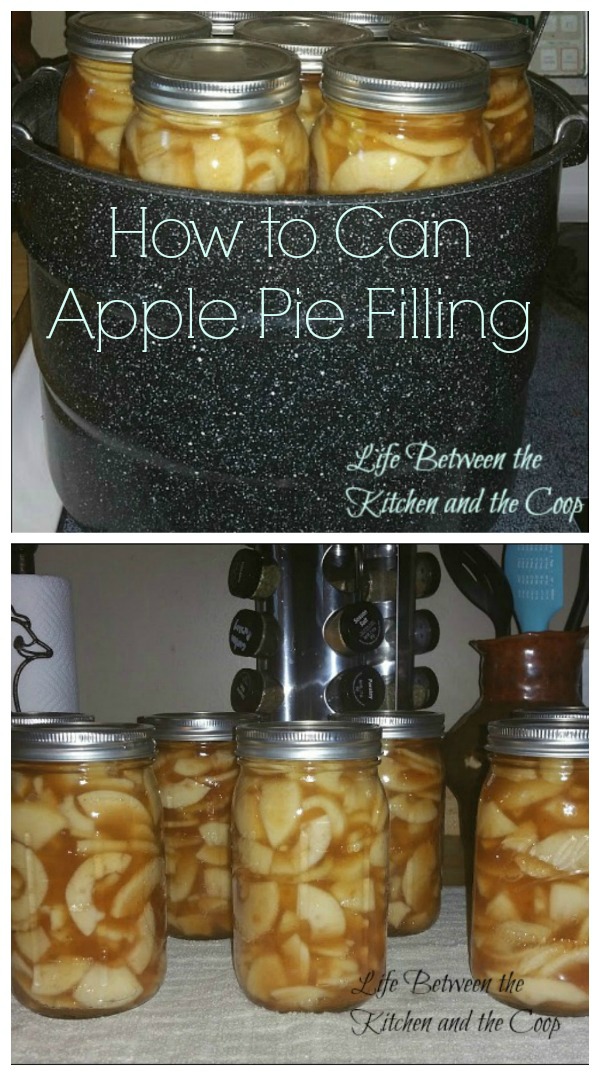
How to Can Apple Pie Filling
Have you ever looked at the beautiful jars of canned fruit on someone else’s food storage shelves and wished you knew how to do that? I know I did…until I learned how to make canning apple pie filling EASY. In fact, it is one of the easiest food preservation recipes that I could give you!
The best thing is It feels so good knowing that you are becoming more self-sufficient and better able to care for your family in an emergency because you have built your food storage! Words cannot express how much our family loves having canned produce from our own garden!
The thing that I love about doing this awesome Apple Pie Filling is that you can you throw it in a pie shell for an easy holiday dessert or you can make some easy and delicious Apple Dump Cake a la Mode in a jiffy. Two quick, easy, and delicious desserts!
How to Can Apple Pie Filling

(affiliate links)
Ingredients (from back of package of Mrs. Wages Fruit Pie Filling Mix):
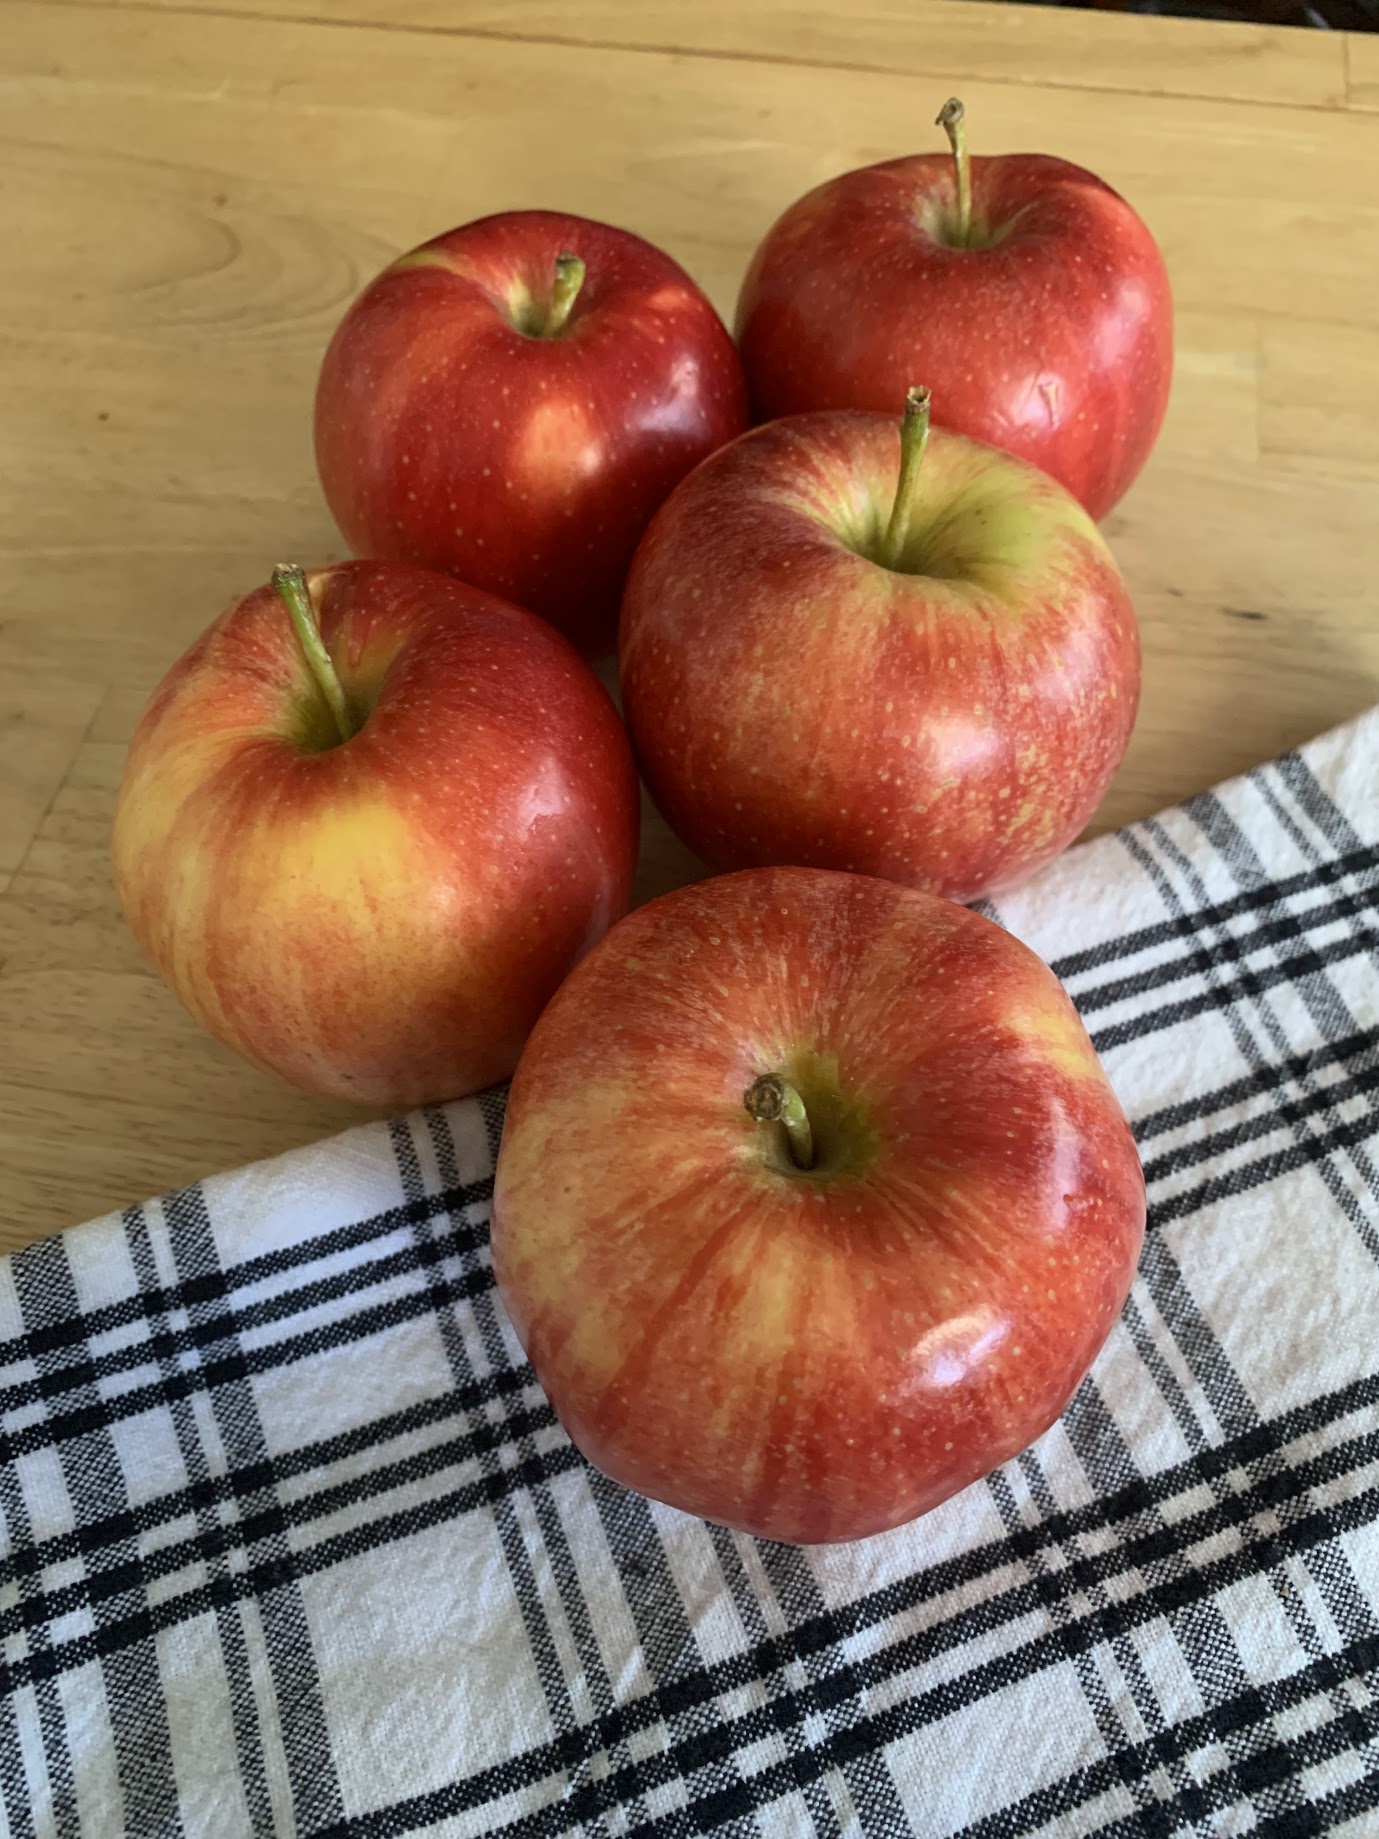
4-5 pounds of apples (about 12-15 apples—>1 pound=about 3 medium apples)
3 cups sugar
3 cups water or apple juice (I used water and it still tasted great!)
Mrs. Wages Fruit Pie Filling Mix (all natural)
Canning supplies that you will need (in case you have never canned before, there are links to show you what I am taking about!):
6 quart-sized jars with lids and screw-on caps (I recommend wide-mouth jars, but either type will work)
Hot water bath canner with jar tray
Jar lifter (so you don’t burn your fingers or drop a hot jar!)
A knife
A large spoon
A ladle for scooping the apple pie filling into the jars
A funnel
A cutting board
Magnet to pick up lids (optional) (again so you don’t burn your fingers getting them out of boiling water)
An apple slicer/peeler (you can slice/peel them yourself if you want…I don’t!)
OR
Amazon has canning items in a great set if you are new to water bath canning and want things to be nice and easy!
You won’t need everything in this set to can apple pie filling, but you will need most of it! The set includes:
- 21-quart canner
- canner lid
- 7-jar rack
- 9-inch colander
- lid wrench
- funnel
- tongs
- jar lifter
- magnetic lid lifter
What to do:
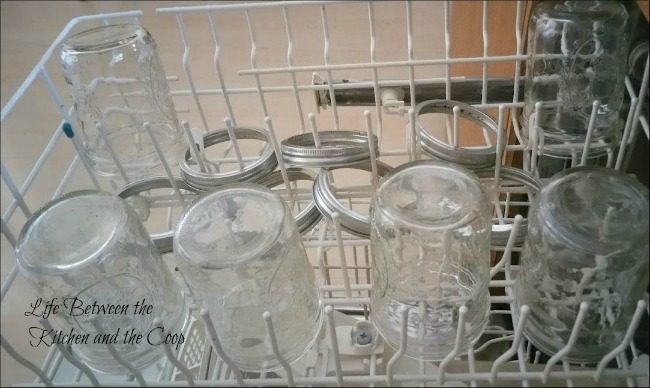
The first thing I always do is load my jars and screw on caps into the dishwasher. The jars need to be HOT when the apple pie filling is put into them, so depending on how long of a cycle your dishwasher has, you will want to figure out when to turn it on accordingly.
(You want the jars to be in the rinse or dry cycle when you are ready to put the apple pie filling in them, that way the jars are ready and hot right when you need them!)
You will want to have your hot water bath pot filled with water roughly 2/3 of the way. You want it to cover the jars once you sink them, but not so full that the water overflows onto your stove when you put the jars in. If you have to you can use a glass mug to CAREFULLY remove some of the excess water.
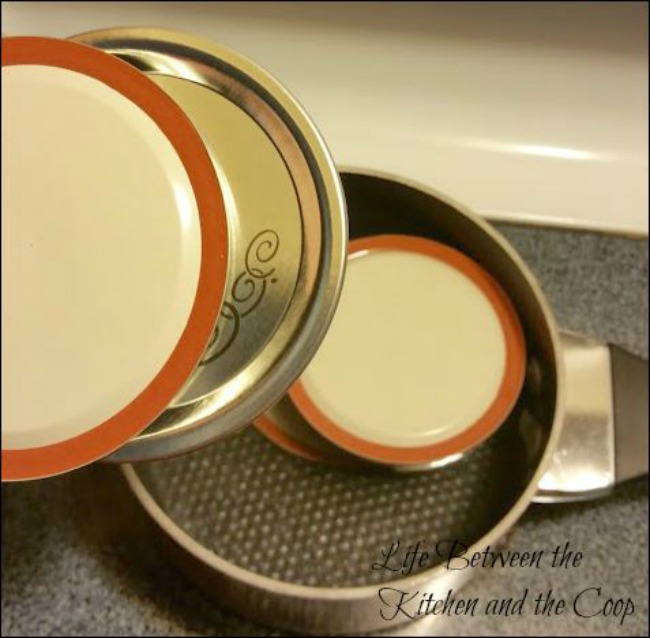
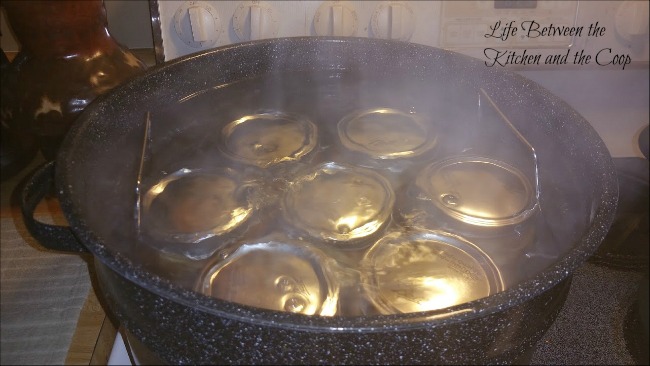
You should also have your lids going at a rolling boil to prep them. They need to be hot when you seal the canning jars so that you will get a tight seal (this is important to help avoid foodborne illness).
When you are about 1/2 way through with peeling the apples with your apple peeler/slicer, turn the water bath pot on high (with the lid on) and bring it to a rolling boil, then turn it down to medium high.
When you turn on the heat for your water bath pot you should also start your dishwasher cycle (with jars and lids inside).
Once all of the apples are peeled and sliced, I put them in a separate pot on the stove and add the other ingredients. Turn it on medium heat and stir often, keeping it warm until the jars and lids are ready.
Hopefully if you have timed everything well, by the time the apple pie filling is ready, your jars are hot and your lids are hot. THIS IS IMPORTANT! If the lids and jars are not hot, get them hot before you proceed.
Be sure the apple pie filling is also hot, because putting cold pie filling in a hot jar will cause the jar to break. Don’t try to cheat on this…trust me! You have been warned! 😉
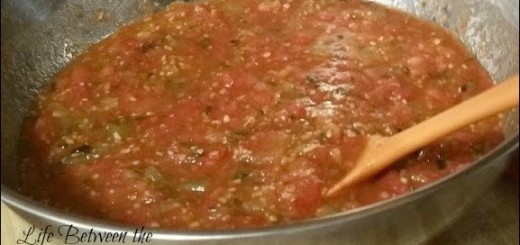
Here’s a quick little video showing how to prep the jar before sinking it in the water bath. In this video I was making salsa, but you get the idea. Written instructions follow the clip 🙂
One at a time, remove hot jar from dishwasher, place funnel in top of the jar.
Using ladle fill with the hot apple pie filling, but leave about 1/2 – 1 inch of space at the top (because it will expand). Using your lid magnet, remove a lid from the boiling water. Carefully place it on the jar.
Wipe the bottleneck and top of lid dry with a towel and then screw on the cap. You may not use all six jars…that’s fine. You can use them again some other time.
It’s always better to have too many jars hot and ready, rather than too few. If you have too few there is no safe way to heat another jar fast and if the jars are not hot when placed in the canner they will break! Trust me! I tried once!
Using your jar lifter, place it in the water bath rack (the water in your water bath should be boiling). Repeat until all of the apple pie filling has been jarred.
Then, sink the jars in the boiling water bath and replace the lid. Keep the jars at a rolling boil with the lid on the water bath for 20 minutes (doing this is called processing). Next, turn off the heat.
When you use the jar lifting tray to lift them out of the water bath, leave them in the tray-lifted position like this to cool for a little bit before you remove them with your jar lifter. Lift them out of the bath with your jar lifter and set them on a towel on the counter to dry.
Once dry and cool, use a sharpie to label the lid with the date and “apple pie filling”. Now it’s ready to go in your food storage! Look at you! You’re becoming more self-reliant! Yay!

How to Can Apple Pie Filling
Ingredients
- (This ingredient list is from back of package of Mrs. Wages Fruit Pie Filling Mix:
- 4-5 pounds of apples (about 12-15 apples--->1 pound=about 3 medium apples)
- 3 cups sugar
- 3 cups water or apple juice (I used water and it still tasted great!)
- Mrs. Wages Fruit Pie Filling Mix (all natural)
Instructions
- The first thing I always do is load my jars and screw on caps into the dishwasher. The jars need to be HOT when the apple pie filling is put into them, so depending on how long of a cycle your dishwasher has, you will want to figure out when to turn it on accordingly. You want them to be in the rinse or dry cycle when you are ready to put the apple pie filling in them, that way the jars are ready and hot right when you need them!
- You will want to have your hot water bath pot filled with water roughly 2/3 of the way. You want it to cover the jars once you sink them, but not so full that the water overflows onto your stove when you put the jars in. If you have to you can use a glass mug to CAREFULLY remove some of the excess water.
- You should also have your lids going at a rolling boil to prep them. They need to be hot when you seal the canning jars so that you will get a tight seal (this is important to help avoid foodborne illness).
- When you are about 1/2 way through with peeling the apples with your apple peeler/slicer, turn the water bath pot on high (with the lid on) and bring it to a rolling boil, then turn it down to medium high. When you turn on the heat for your water bath pot you should also start your dishwasher cycle (with jars and lids inside).
- Once all of the apples are peeled and sliced, I put them in a separate pot on the stove and add the other ingredients. Turn it on medium heat and stir often, keeping it warm until the jars and lids are ready.
- Hopefully if you have timed everything well, by the time the apple pie filling is ready, your jars are hot and your lids are hot. THIS IS IMPORTANT! If the lids and jars are not, get them hot before you proceed. Be sure the apple pie filling is also hot, because putting cold pie filling in a hot jar will cause the jar to break. Don't try to cheat on this...trust me! You have been warned! 😉
- One at a time, remove hot jar from dishwasher, place funnel in top of the jar. Using ladle fill with the hot apple pie filling, but leave about 1/2 - 1 inch of space at the top (because it will expand). Using your lid magnet, remove a lid from the boiling water. Carefully place it on the jar. Wipe the bottleneck and top of lid dry with a towel and then screw on the cap. You may not use all six jars...that's fine. You can use them again some other time. It's better to have too many jars, rather than too few. If you have too few there is no safe way to heat another jar fast and if the jars are not hot when placed in the canner they will break! Trust me! I tried once!
- Using your jar lifter, place it in the water bath rack (the water in your water bath should be boiling). Repeat until all of the apple pie filling has been jarred. The sink the jars in the boiling water bath and replace the lid. Keep the jars at a rolling boil with the lid on the water bath for 20 minutes (doing this is called processing). Next, turn off the heat.
- When you use the jar lifting tray to lift them out of the water bath, leave them in the tray-lifted position like this to cool for a little bit before you remove them with your jar lifter.
- Lift them out of the bath with your jar lifter and set them on a towel on the counter to dry. Once dry and cool, use a sharpie to label the lid with the date and "apple pie filling". Now it's ready to go in your food storage!
Notes
Canning supplies that you will need (in case you have never canned before, there are links in the post to show you what I am taking about!):
6 quart-sized jars with lids and screw-on caps (I recommend wide-mouth jars, but either type will work)
Hot water bath canner with jar tray
Jar lifter (so you don't burn your fingers or drop a hot jar!)
A knife
A large spoon
A ladle for scooping the apple pie filling into the jars
A funnel
A cutting board
Magnet to pick up lids (optional) (again so you don't burn your fingers getting them out of boiling water)
An apple slicer/peeler (you can slice/peel them yourself if you want...I don't!)
Nutrition Information
Serving Size 1Amount Per Serving Sodium 21mg
If there is a little left over that won’t fill a jar, put it in a bowl with a scoop of ice cream and eat it. That’s your reward!
You can also check out these other great food preservation tips:
Dehydrating Apples with Cinnamon and Sugar
Preserving Strawberries with a Dehydrator
Canning Homemade Cinnamon Applesauce
After you are finished, don’t forget to come follow us on Facebook!
Warmly,
Deb
P.S. After you have canned your apple pie filling, remember to make this Apple Dump Cake a la Mode—your family will LOVE it!


2 Responses