Food Dehydrating Basics Strategies
I have been learning about food dehydrating basics. I’m going to share my “recipe” for how I dehydrated some apples. The process is the same for many fruits and vegetables.
Food dehydrating is something I’ve been wanting to dive into on my blog. I figure if I want to learn about how to dehydrate food, some of you probably do, too! Whether you are dehydrating food for storage or just looking to make a healthy snack, food dehydration is a great tool to add to your tool belt!
My sweet hubby got me really nice dehydrator for Christmas. The box it was in was kind of bulky because they had styrofoam around it inside to protect it, so rather than wrap it and put it under the tree I just opened that sucker up!
My dehydrator came with a great little book that teaches the basics of dehydrating and also has some recipes. I have been reading it, so I thought I would share with you what I learned so far.
Food Dehydrating Basics
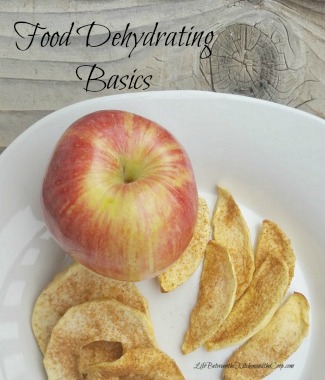
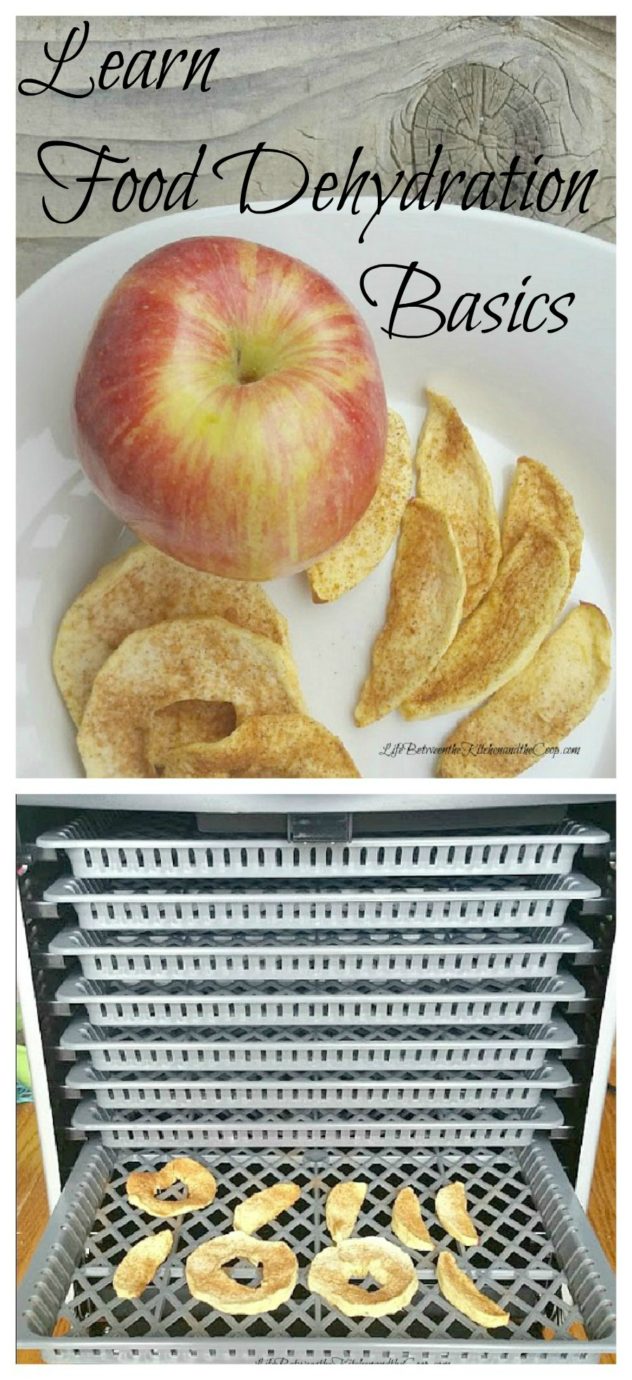
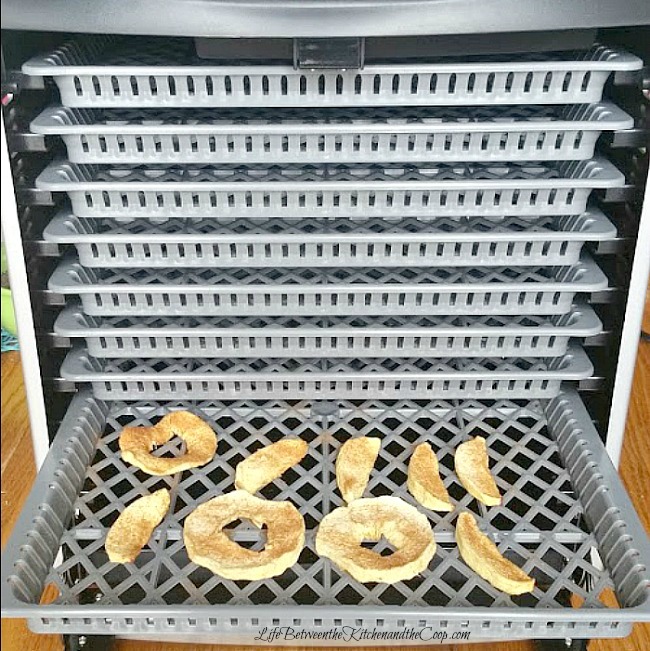
We have a little person at our house who loves apples but is notorious for taking a couple of bites and not finishing the apple, so for a test run we just did one tray of sliced apples. I have a cinnamon-sugar shaker that I like to use on my toast. My husband sprinkled some of that on the apples before drying them. Guess what—they were good!
This week I am going to pick up some strawberries and will do a post in the next week or two with the how-to dehydrate details. In the meantime, I want to share some of the basics I have learned with you!
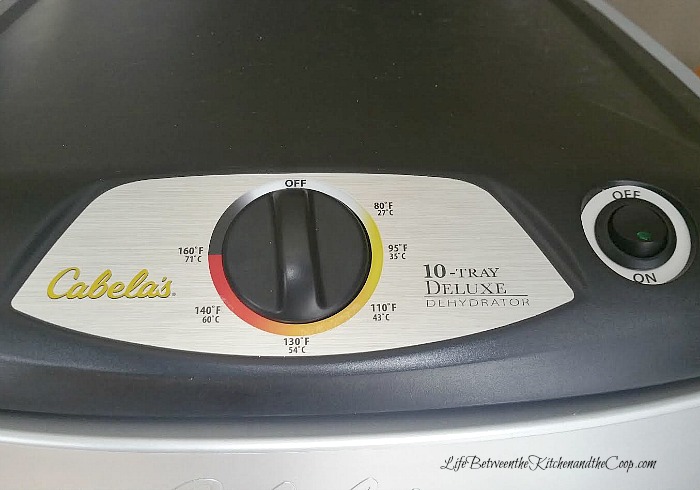
There are lots of different food dehydrators available. First figure out what your needs are and what your budget is. That will help you choose one. Our dehydrator is Cabela’s 10 Tray Deluxe Dial Dehydrator. The controls on it are very simple and user-friendly.
There are smaller and cheaper ones available if you don’t need something that big, but when I make jerky when I have wild game available, I am not going to want to do a zillion batches…that’s why we went for the big one.
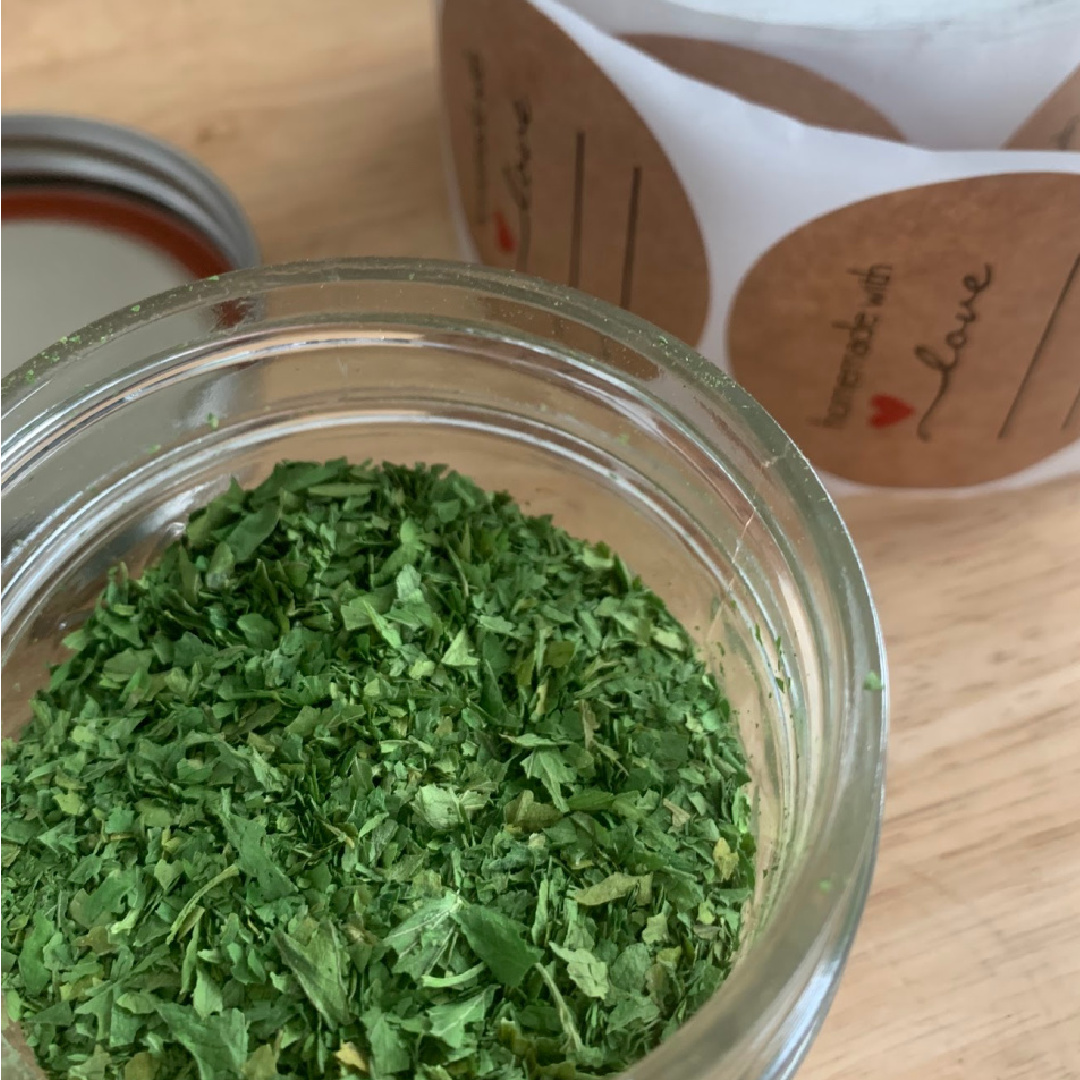
Did you know dehydrators can be used for more than just drying fruit and making jerky? You can also make fruit leather, dry herbs, and make crafts in it! I never would have thought of making crafts in it, but apparently it is great for drying out the dough!
Dehydrating fruits and vegetables
I dehydrated apples for my first attempt at food dehydrating. These are the tips that I followed from the book that came with my dehydrator:
It is important to use food at it’s prime (translation: not over-ripened) to get the best flavor from your dehydrated product.
Fruits and vegetables should be washed and patted dry before they go in the dehydrator. Patting them dry with a paper towel helps reduce the drying time needed in the dehydrator.
Many vegetables require blanching to soften the skin and allow the moisture to escape more easily in the dehydrator. You should avoid water-blanching because you will lose water-soluble vitamins that way. It is better to blanch them by steaming them or you can do it in the microwave.
When you are slicing fruit, veggies, (or meat) to dehydrate, the slices need to be as uniform in thickness as possible so that they will dry evenly. The slices should be about 3/8 inch thick and should not be placed so that they overlap or are too close together on the dehydrator trays to allow air circulation.
Be sure to leave at least 1/4 inch space around the food pieces to allow the air to circulate evenly around them.
The amount of time and the temperature for the dehydrator will vary depending on the food you are dehydrating. For apples, I did 6-8 hours at about 140 degrees.
More dehydrating tips
Besides drying fruits and vegetables, another reason I wanted a food dehydrator is so that I can make jerky for long-term food storage. It would also be handy for my husband to take with him when he goes on hunting and fishing trips.
Note: If you are going to make jerky from wild game, you need to first freeze the meat at zero degrees Fahrenheit for at least 60 days to be sure to kill any illness-causing organisms that the animal may have been carrying.
Do you dehydrate food? If you do, what kinds and how has it gone? What food dehydrating tips do you have?
Food dehydration is such a useful kitchen skill and I am excited to dive deeper into food dehydrating! I will be sharing more about it soon!
See you next time!
Deb
P.S. Be sure to check out these other great food preservation tips:
Dehydrating Apples with Cinnamon and Sugar
Preserving Strawberries with a Dehydrator
Canning Homemade Cinnamon Applesauce