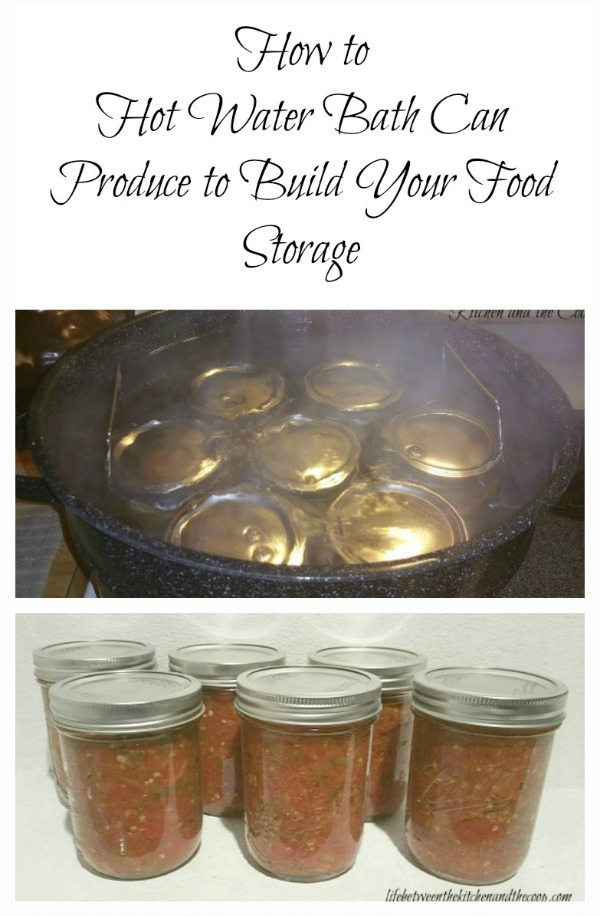
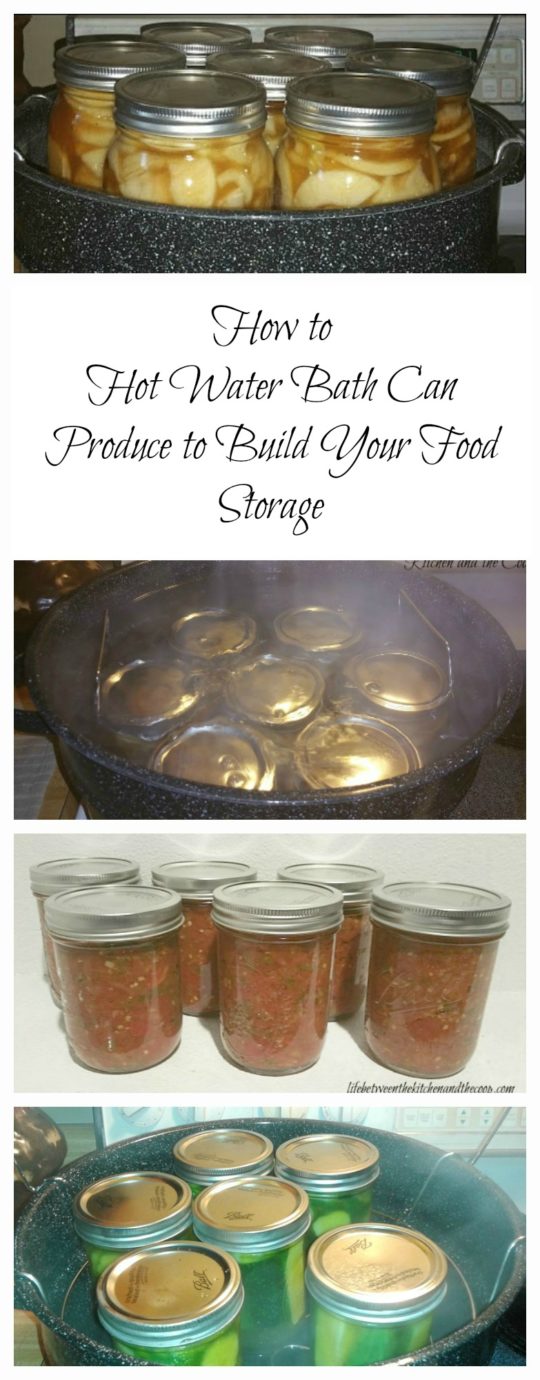
How to Hot Water Bath Can Produce to Build Your Food Storage
This post contains ads.
Have you ever looked at the beautiful jars of canned fruit in someone else’s food storage and wished you had mason jars full of garden produce in your own long-term food storage? I always did, but until a few years ago, I had never tried water bath canning. It just looked like too much work, right?
Well, don’t let that stop you or you will be missing out on some amazing things for your food storage! The whole canning thing is definitely a little bit of work, but it is so worth it when it is over! Seeing all of the lovely mason jars full of food on your food storage shelves is a great reward for your hard work and eating from them is even better! Not to mention you will love the confidence that comes with becoming more self-sufficient!
Water bath canning is also a great way to branch out a bit on your garden cooking. If you think you are ready to give it a try, I put together some tips to help you and even wrote out the instructions for you, step by step!
Do’s and Don’t of Hot Water Bath Canning
The task of water bath canning can be a bit intimidating if you haven’t done it before. Before I tell you how to can in a water bath, let me share a few tips—a few do’s and don’ts to get you started:
- DO NOT think you can’t do it! It is actually quite easy! It does, however, require you to set aside some undistracted time. You can’t really multi-task when you are canning. If you are focused you can get all of the steps done and then you get finished more quickly and have everything timed just perfectly.
- DO can things you will eat. Common sense, right? Whether you can from your garden or the farmer’s market, don’t waste your time if it isn’t going to help you in the long run. For example…we got A TON of cucumbers in our garden last year. We canned about 4 or 5 batches of pickles. We enjoy pickles and will definitely eat them, BUT once I got to the point where I know I have more pickles than I will eat in a year, that’s when I stop canning them! (If you have surplus veggies, you can always give some to neighbors or friends who maybe weren’t so lucky with their garden this year.)
- DO NOT (and this is a BIG DO NOT) think if you accidentally didn’t preheat enough mason jars for the amount of food that you are going to can that you will get away with running one under hot water for a few minutes to heat the jar and then go ahead and fill it with whatever your canning and then put it into the boiling water bath. I did that once.
[Let me tell you about that. As I have mentioned, I preheat my jars in the dishwasher, but with one set of pickles I was one jar short. So I grabbed a clean mason jar off of my shelf, ran it under hot water, and filled it with the pickles I was canning. I put the jar in the hot water bath, and several minutes later I heard (pop!). So THIS happened (please excuse the text on this image—it’s from an old blog post and I don’t have the raw image anymore)…
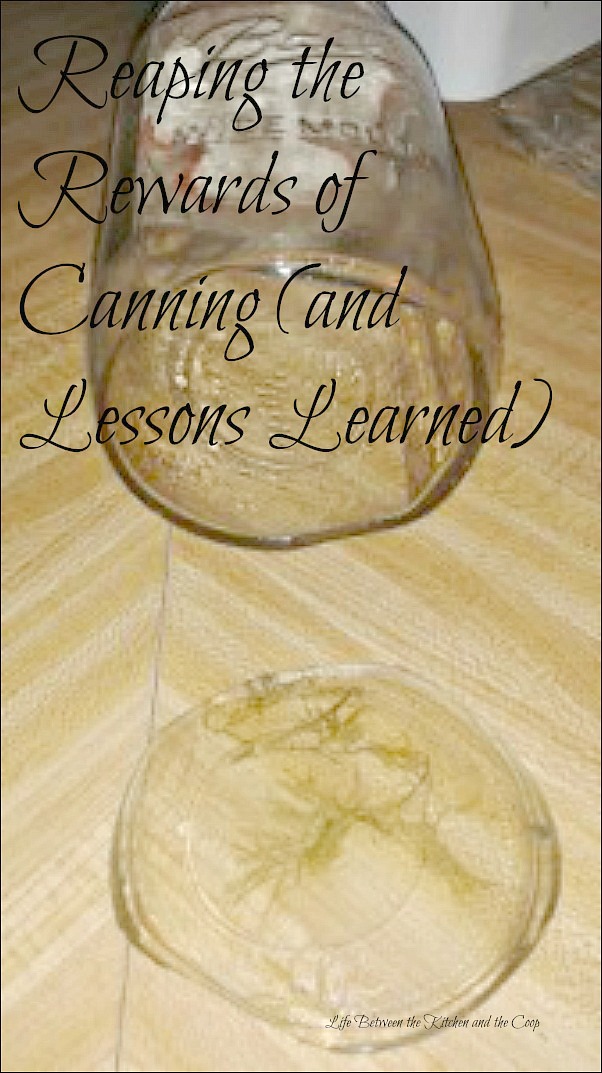
Sad, huh? 🙁 My poor mason jar. And my poor pickles! Glass shards in the pickles…not so good. That would lead to an intestinal bleed that I don’t even wanna think about. So PLEASE don’t do that!]
- DO go easy on yourself. If you are new at canning (or even if you aren’t), don’t feel like you have to come up with some amazing, made from scratch canning recipe. It is more safe to use tested recipes because if the things that you are canning are not acidic enough, you run the risk of foodborne illness. Acidic things (ie. fruits, tomatoes) can be canned in a boiling water canner. Less acidic things like many vegetables and meats have to be done in a pressure-cooker in order to maintain food safety. I strongly recommend that you start with a boiling water canner. It is SO easy.
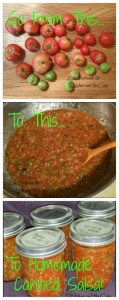
[If you want to make it even EASIER than canning from a recipe someone else has tested, there are also mixes out there that you can use for canning. If you use a mix, you can focus more on the process and less on finding the perfect recipe. My FAVORITE pre-packaged canning mix is Mrs. Wages Salsa Mix. I still use that for my Salsa, even though I have plenty of experience canning with normal canning recipes now. It is delicious! Like the best salsa ever in my book! However, if you don’t want to use a mix and would rather check out some pre-tested, safe recipes for canning Ball Canning has some great canning recipes on their website.]
- DO make sure you have all of the supplies that you need. You will need canning jars with lids and screw-on caps (I recommend wide-mouth jars, but either type will work), a hot water bath canner with a jar rack, a jar lifter, a knife (to cut up whatever produce you are canning), a large spoon, a ladle for scooping your prepared produce into the canning jars, a funnel, a cutting board, and a canning magnet to pick up lids out of the hot water. If you are canning anything juicy (like tomatoes), I also recommend you put a big dark-colored (so it doesn’t stain) bath towel under your cutting board so you don’t have tomato juice going over the edges of your cutting board, running all over your table and floor!
So I told you about the supplies you need. Don’t let the list of water canning supplies above stress you out. You know what to look for, right? Not exactly? Well..it’s a lot of things to find at the store, I guess. OK, if you prefer your shopping to be quick and easy, you could just scoot on over to Amazon and pick up the water bath canning set below instead (ad):
Hot Water Bath Canning (Step by Step Directions)
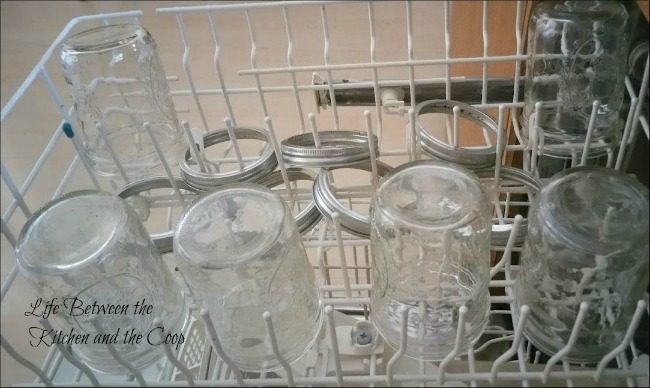
- The first thing I always do is load my jars and screw on caps into the dishwasher. Don’t turn it on yet.
- You will want to have your hot water bath pot on a large burner on the stove and filled a little over 2/3 of the way with water. You want it to pretty much cover the jars once you sink them, but not be so full that the water overflows onto your stove when you put the jars in. If you go to sink your jars in the bath and find you do have too much in there, you can use a large mug to CAREFULLY remove some of the excess hot water.
- As you are preparing your recipe, turn the water bath pot on high (with the lid on) and bring it to a rolling boil, then turn it down to medium high. It needs to continue to boil throughout the canning process.
- When you turn on the heat for your water bath pot you should also start your dishwasher cycle (with jars and lids inside). Keep in mind, the jars need to be HOT when whatever you are canning is put into them. Depending on how long your dishwasher cycle is, you may need to adjust when you turn it on accordingly. You want the jars to be in the rinse or dry cycle when you are ready to fill them, that way the jars are hot right when you are ready for them!
- About ten minutes before you are ready to fill your mason jars with yummy stuff, you should get your lids going at a rolling boil in a small saucepan. The lids need to be hot when you put them on the mason jars so that you will get a tight seal (this is important to help avoid foodborne illness).
- Hopefully if you have timed everything well, when whatever you are canning is ready, your jars are hot and your lids are hot. THIS IS IMPORTANT! If the lids and jars are not, get them hot before you proceed. Be sure that whatever produce you are canning is also hot, because putting cold food in a hot jar may cause the jar to break. (I told you that story already!)
- One at a time, remove a hot jar from the dishwasher, then place a funnel in top of the jar. Using ladle fill the mason jars, but leave about 1/2-1 inch of space at the top. That is called head space. Your recipe should tell you exactly how much head space to leave.
- Using your lid magnet, remove a lid from the boiling water. Carefully place it on the jar. Wipe the bottleneck and top of lid dry with a towel and then screw on the cap. You may not use all six jars…that’s fine. You can use them again some other time. It’s better to have too many jars, rather than too few. If you have too few there is no safe way to heat another jar quickly enough and if the jars are not hot when placed in the canner they will break! Trust me! I tried once. It did not go well!
Here is a quick video of the process that I did when making salsa:
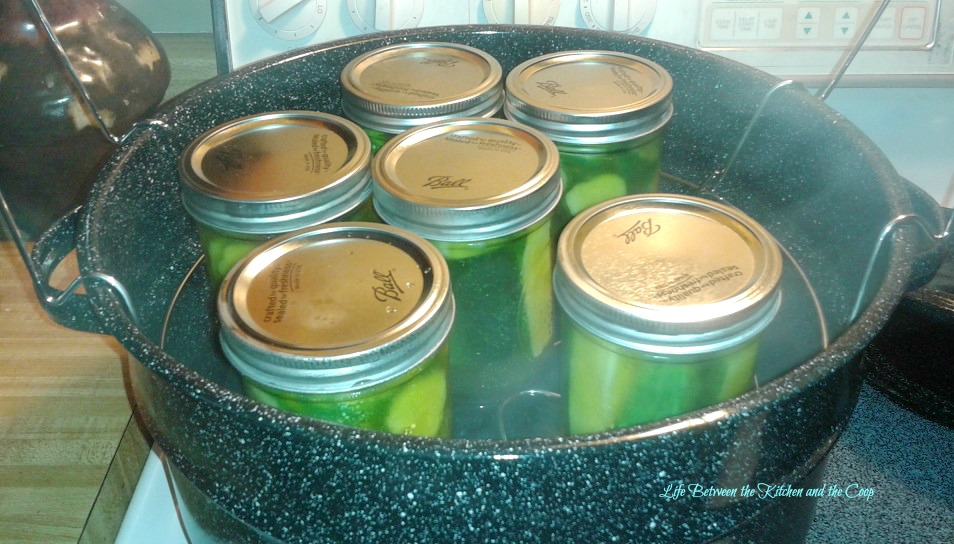
- Using your jar lifter (so you don’t burn your fingers), place the prepared jar in the hot water bath rack (the water in your water bath should be boiling). Repeat until all of the mason jars are in the jar rack. Then sink the jars in the boiling water bath.
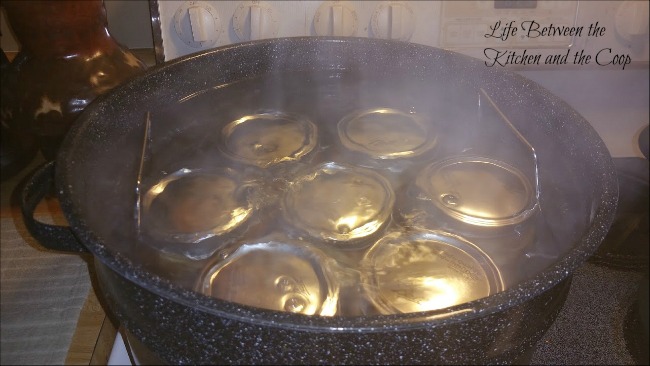
- Now cover water bath with the lid. Keep the water at a rolling boil with the lid on for however long the recipe recommends (doing this is called processing).
- When processing time is up, turn off the heat.
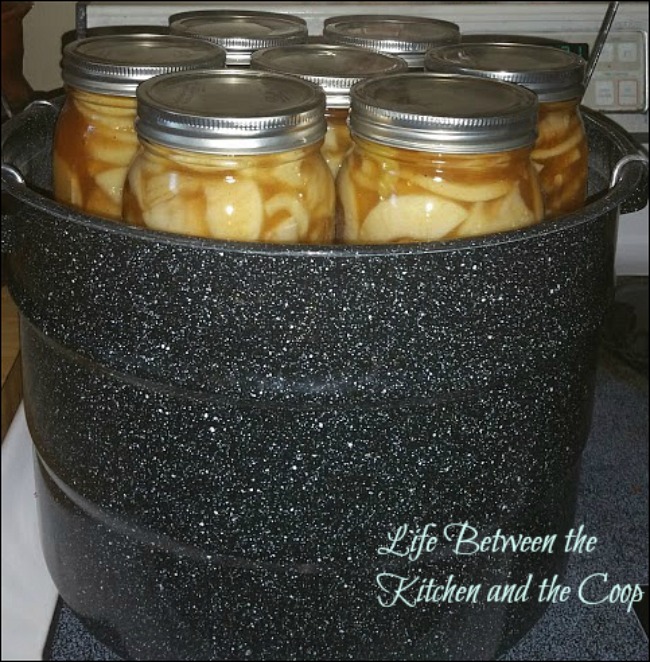
- When you use the jar lifting rack to lift the jars out of the water bath, leave them in the tray-lifted position like this to cool for a little bit before you remove them with your jar lifter.
- After you have let them sit like that for 5 or 10 minutes, CAREFULLY lift them out of the bath with your jar lifter and set them on a towel on the counter to dry. Once they are completely dry and cool, use a sharpie to label and date the lid. Your beautiful jars of canned produce are ready to go on your food storage shelf. Yay! Good job! I knew you could do it!
You are going to love becoming more self-reliant! Oh…one last thing, always remember to rotate your food storage. That means use the oldest things first. We want to keep your food storage safe! Thanks for stopping by our little urban homestead!
See you next time!
Deb
P.S. If you want to try canning salsa from a Mrs. Wages mix, which is super easy, go check out my How to Can Salsa the Easy Way post!