Don’t you just love fall? Enjoying the fruits of your labors at harvest time is just the best! Of course, you need lots of yummy recipes to use up all of that fresh produce! This homemade apple butter recipe is the ultimate fall comfort food and is one of my favorite things to make with delicious fall apples.
Once I make this homemade apple butter, I can it for my food storage. I’m going to tell you exactly how to make it and can it so that your family can enjoy it, too! Then you can have it anytime on toast, biscuits, potato pancakes, french toast, or however you would like!
And guess what? Making this homemade apple butter in the slow cooker will make your home smell ahhhh-mazing!
Homemade Apple Butter

Homemade Apple Butter Recipe Ingredients
20-25 medium-sized apples
1/4 cup of water
1 cup brown sugar
2/3 cup granulated sugar
2 1/2 tsp ground cinnamon
1/4 tsp allspice
1/8 tsp nutmeg
Are you ready to try making homemade apple butter in the slow cooker? Great! Let’s get started with my homemade apple butter recipe for canning!
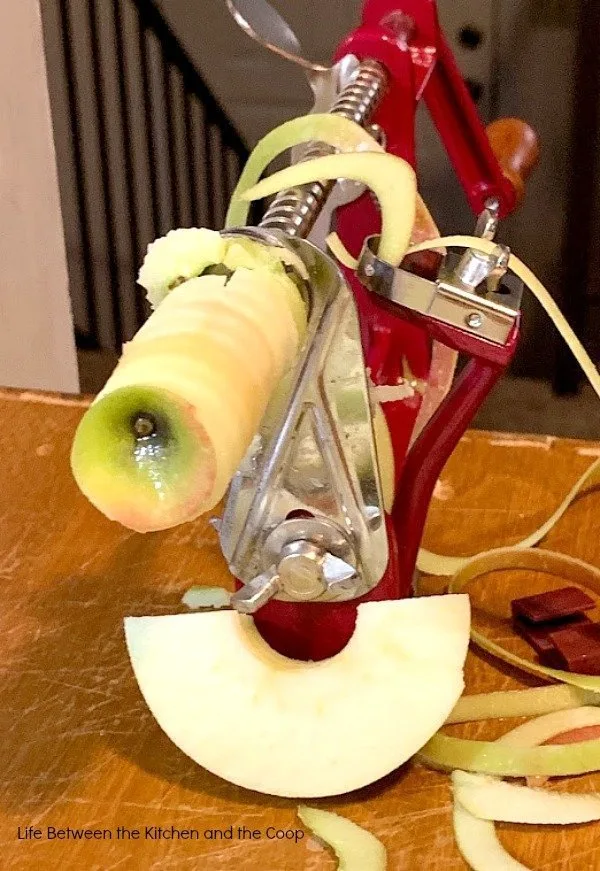
First, peel and slice your apples. For that tedious job, I absolutely LOVE my apple peeler/slicer/corer! It makes the process fairly quick.
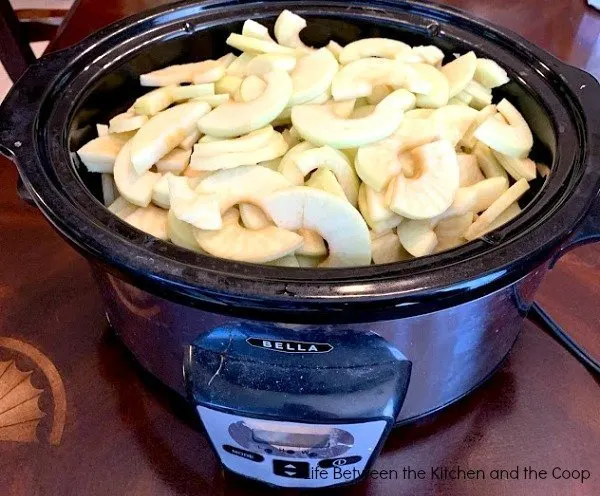
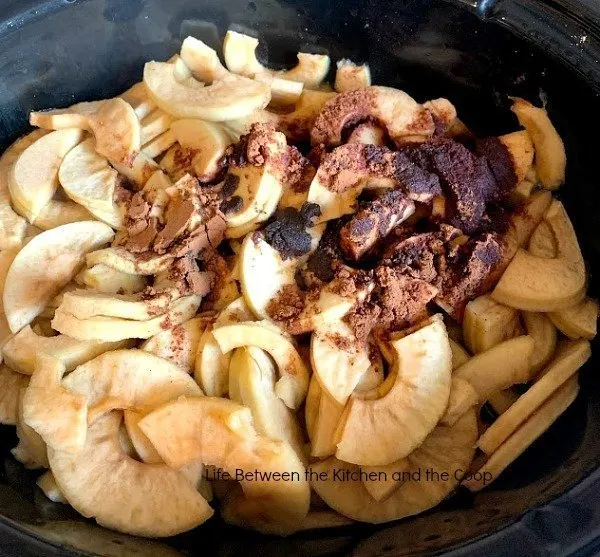
Once the apples are all peeled and sliced, put them in the pressure cooker pot.
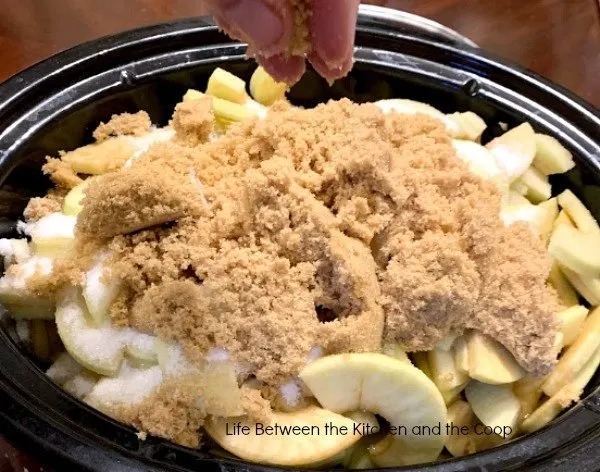
Next, add the white sugar and brown sugar.
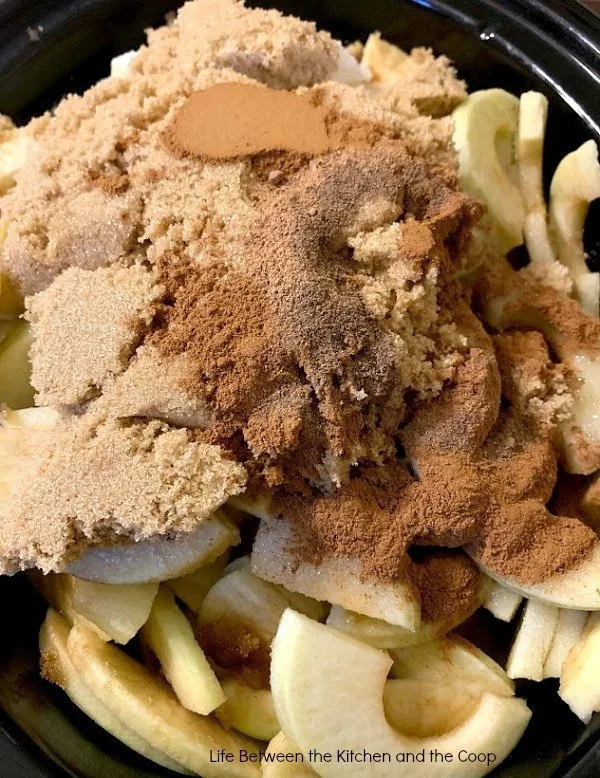
Then place the remainder of the ingredients in the slow cooker.
At this point, just cook all of the ingredients in the slow cooker, set on low, for 6 hours.
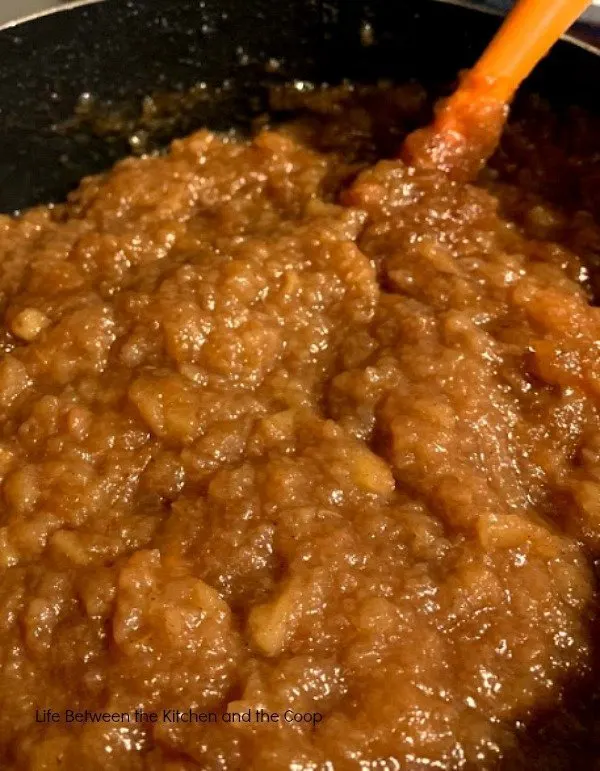
After six hours of slow cooking, the apples will be very soft, so you can use a potato masher and mash up the apple mixture.
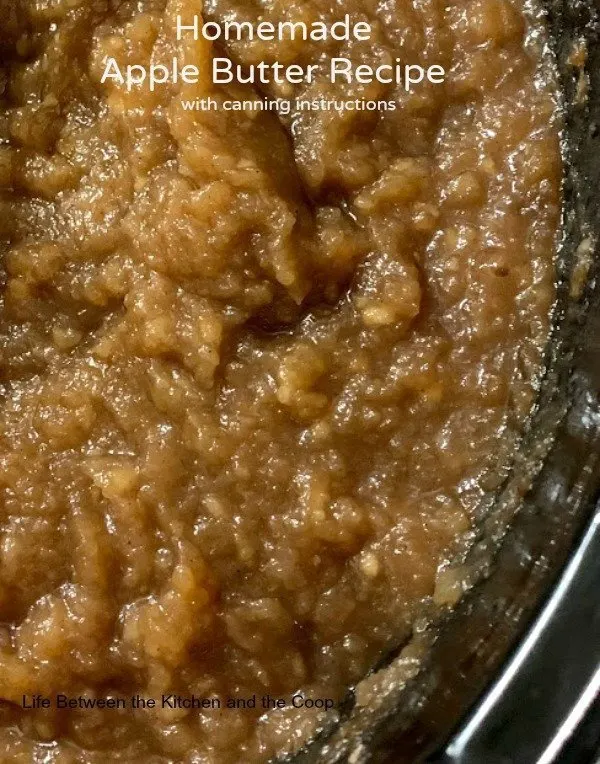
After mashing the mixture, continue slow cooking until the apple butter is the desired consistency, stirring occasionally. (If there are still any apple chunks left after the first time you mashed them, slow cook the apple mixture for another hour or two and mash them again.)
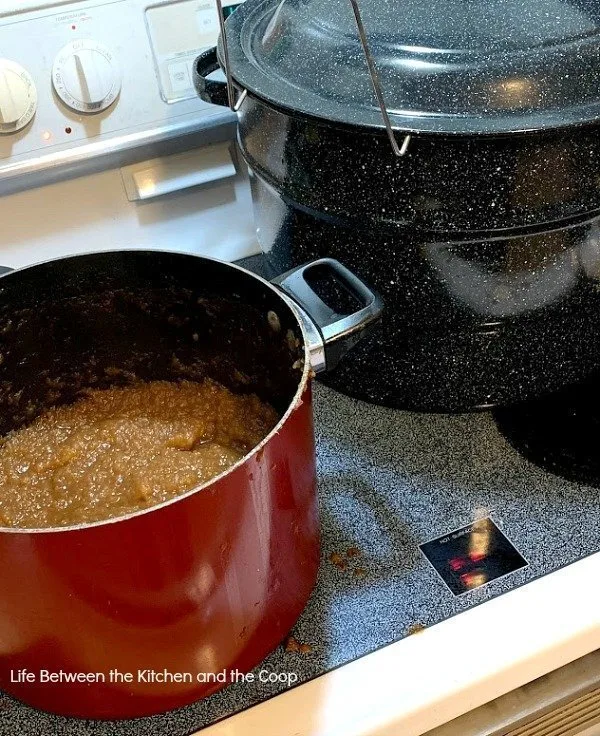
Once you know how to make apple butter in the crockpot, you can water bath can it!
(Pssst…when you are done making apple butter, be sure to check out some other ways to preserve apples in my How to Preserve Apples for Food Storage post!)
How to Water Bath Can Homemade Apple Butter
If you have never water bath canned before, don’t worry! I learned how to do it using a Ball canning cookbook.
*IMPORTANT: If you can’t jar the apple butter in hot jars right away (because the jars aren’t hot, or the phone rings, or whatever), then you will need to reheat the apple butter when you are ready to can it. If your apple butter isn’t hot when it is put in the hot jars, you risk your jars breaking. (I did that once when I first learned to can, lost a whole jar of pickles that way. Don’t take shortcuts. You have been warned!)
When preparing to water bath can your apple butter, the first thing you should do is load the mason jars and screw on caps into the dishwasher. I like doing it this way because then the jars are freshly clean and hot when you are ready for them.
You will want to time running the dishwasher so that the jars will be hot when the apple butter is finished and hot. Depending on how long of a cycle your dishwasher has, you will want to figure out when to turn it on accordingly. (Hint: If your jars are clean, you can just run them through a rinse cycle to save time.) Either way, they need to be in either the rinse or dry cycle when you are ready to fill them, that way the jars are nice and hot (and not soapy) right when you need them!
Be sure to have the rest of your canning supplies ready, too. That includes your water bath canning pot with a rack, mason jars with lids, regular pots and pans, a wide-mouth funnel, a jar lifter, a lid magnet, a ladle, and a hand towel.
Put the jar lids in a small pan of water on the stove, but wait to turn it on medium-high until about ten minutes before you are ready to bottle the apple butter for canning.
You will also want to have your hot water bath pot filled with water roughly 2/3 (for quart jars)-3/4 (for pint jars) of the way full of the way. It needs to be filled high enough to cover the jars once you sink them, but you don’t want the pot so full that the water overflows onto your stove when you put the jars in.
Heat the water to boiling. (Hint: If you have too much water in the water bath pot, you can use a coffee mug to CAREFULLY remove the excess water BEFORE you sink the jars.)
When the apple butter, jars, and lids are all hot:
- One at a time, carefully remove a hot jar from the dishwasher and place a funnel in the jar. (Keep the dishwasher closed in between grabbing jars so that the jars stay hot.)
- Using a ladle, carefully fill the hot jars with apple butter, but leave about 1/2 – 1 inch of headspace at the top (because the contents of the jar will expand when heated).
- Next, use the lid magnet to take a lid out of the boiling water.
- Carefully place the lid on the hot jar.
- Wipe the top of the lid dry with a towel and then screw on the cap.
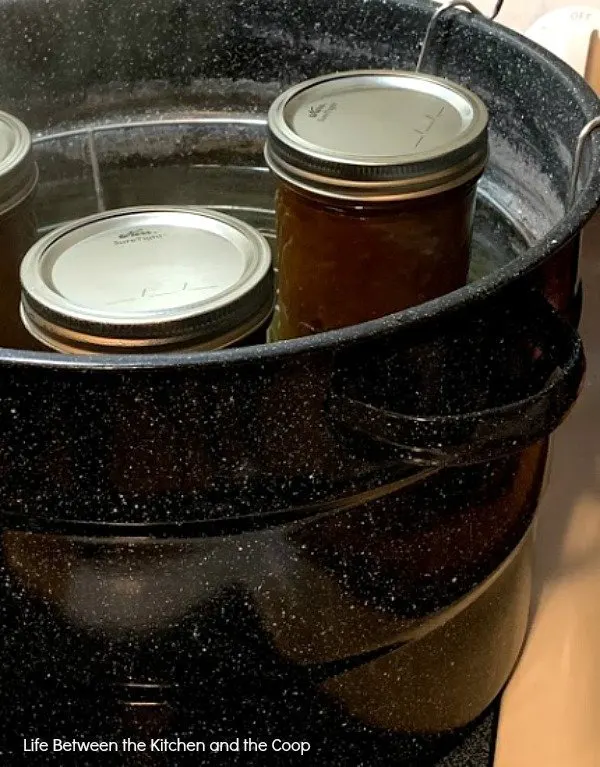
- Using your jar lifter, place the hot bottle of apple butter into the water bath rack (the water in your water bath should be boiling by now).
- Repeat until all of the apple butter has been jarred.
- Once all of the jars of apple butter are placed in the water bath canner rack, you can sink the jars.
- Place the lid to the water bath pot on top of the water bath canner.
- Keep the water in the water bath canner at a rolling boil with the lid on for 20 minutes – doing this is called processing. Adjust the length of processing time for altitude as needed.
- When processing time is complete, turn off the stove heat and remove the pot lid, being careful not to get burned by the steam.
- Lift the rack out of the water, anchoring it on the sides of the pot. Leave the jars in the tray-lifted position for about 10 minutes to cool before you carefully remove them from the water bath with your jar lifter.
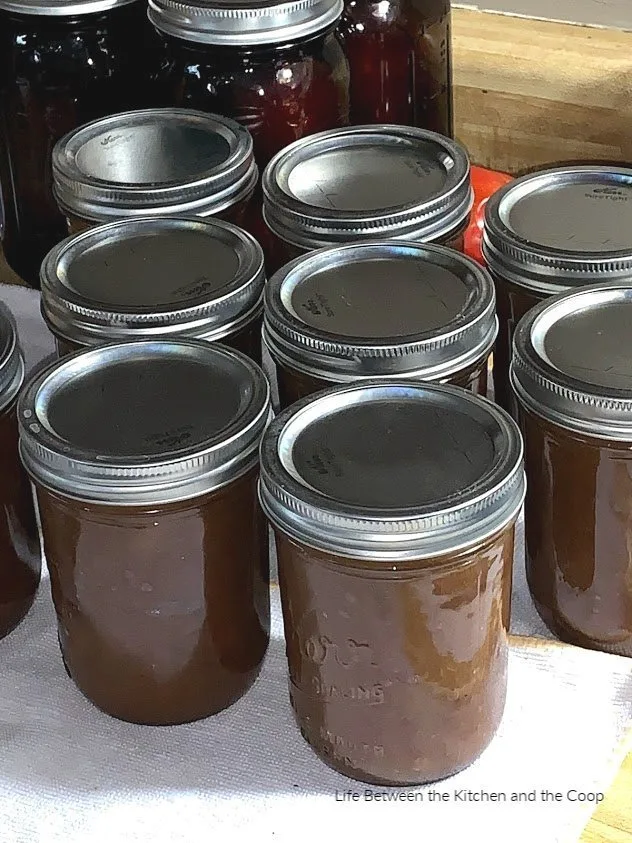
- Finally, set the freshly canned bottles of apple butter on a towel on the counter to cool. Once they are dry and completely cool, use a sharpie or canning jar labels to label the lid “apple butter” and the date it was canned.
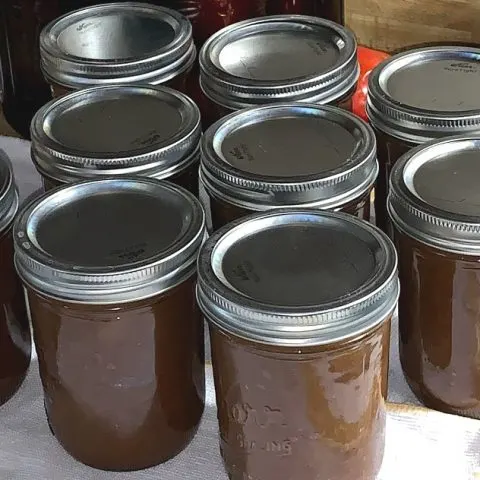
Homemade Apple Butter Recipe with Canning Instructions
Homemade apple butter is the perfect old fashioned preserve to put on your toast and biscuits! You just can't apple butter from scratch! This apple butter has the flavor of apples blended with a lovely combination of seasonings including cinnamon, nutmeg, and allspice. It's one of my favorite fall recipes!
Ingredients
- 20-25 medium-sized apples
- 1/4 cup of water
- 1 cup brown sugar
- 2/3 cup granulated sugar
- 2 1/2 tsp ground cinnamon
- 1/4 tsp allspice
- 1/8 tsp nutmeg
Instructions
- Peel and slice the apples. (Use an apple peeler/slicer/corer! It makes the process quick!)
- Place them in the pressure cooker.
- Add the white and brown sugars.
- Slow cook all of the ingredients on low for 6 hours.
- The apples should be very soft after 6 hours of slow cooking, Use a potato masher to mash the apple mixture.
- Continue slow cooking the apple butter until it is the desired consistency, stirring occasionally. Repeat mashing the apples if needed.
- When the apple butter is the desired consistency, you are ready to can it in the water bath canner.
- Your mason jars will need to be hot at the same time as the apple butter is hot. I use my dishwasher to heat them. That way the jars are freshly clean and hot. Time running the dishwasher so that the jars and apple butter will be hot at the same time. (Hint: If the jars are clean, just run them through a rinse cycle.) Regardless, they should be in either the rinse or dry cycle when you fill them with apple butter, that way the jars are nice and hot (but not soapy) when you need to fill them.
- Have the rest of your canning supplies ready, including your water bath canning pot with a rack, mason jars with lids, a saucepan for heating the canning lids, a wide-mouth funnel, a lid magnet, a ladle, a jar lifter, and a hand towel.
- Place the jar lids in a saucepan of water, but wait to turn the stove heat to medium-high until ten minutes before you bottle the apple butter for canning.
- Fill the water bath pot with water roughly 2/3-3/4 full. It needs to be filled high enough to cover the jars once you sink them, but you don’t want the pot so full that the water when you sink the jars. Heat the water to boiling. (Hint: If you have too much water in the water bath pot, you can use a coffee mug to CAREFULLY remove the excess water BEFORE you sink the jars.)
- When the apple butter, jars, and lids are all hot: One at a time, carefully remove a jar from the dishwasher. Put the funnel in the jar. (Keep the dishwasher closed in between getting each jar so the jars stay hot.)
- Use the ladle to carefully fill each jar with apple butter, leaving about 1/2 – 1 inch of headspace (because the apple butter expands when heated).
- Use the lid magnet to take a lid out of the boiling water.
- Place the lid on the jar of apple butter.
- Wipe the lid dry, then screw on the cap.
- Use the jar lifter to set the hot jar in the water bath rack (the water in your water bath should be boiling by now).
- Repeat these steps until all of the apple butter has been jarred and placed in the water bath canner rack.
- Sink the jars.
- Put the lid to the pot on top of the water bath canner.
- Keep the water in the canner pot at a rolling boil with the lid on for about 20 minutes (this is called processing). Adjust the length of processing time for altitude as needed.
- Now turn the stove off and remove the lid to the water bath canner, using caution so that you do not get burned by the steam.
- Lift the rack, and anchor it on the sides of the pot.
- Keep the jars in the tray-lifted position in the rack for about 10 minutes before you gently remove them from the water bath with the jar lifter.
- Carefully place the freshly canned jars of apple butter on a towel on the counter. Once they are dry and completely cool, use a sharpie or canning jar labels to label the lid "apple butter" and the date it was canned.
- Place those beautiful jars of apple butter on your food storage shelves!
Notes
*IMPORTANT: If you can’t jar the apple butter in hot jars right away (because the jars aren’t hot, or the phone rings, or whatever), then you will need to reheat the apple butter when you are ready to can it. If your apple butter isn’t hot when it is put in the hot jars, you risk your jars breaking. (I did that once when I first learned to can, lost a whole jar of pickles that way. Don’t take short cuts. You have been warned!)
Recommended Products
As an Amazon Associate and member of other affiliate programs, I earn from qualifying purchases.
Nutrition Information
Yield 160 Serving Size 1Amount Per Serving Calories 22Total Fat 0gSaturated Fat 0gTrans Fat 0gUnsaturated Fat 0gCholesterol 0mgSodium 1mgCarbohydrates 6gFiber 1gSugar 5gProtein 0g
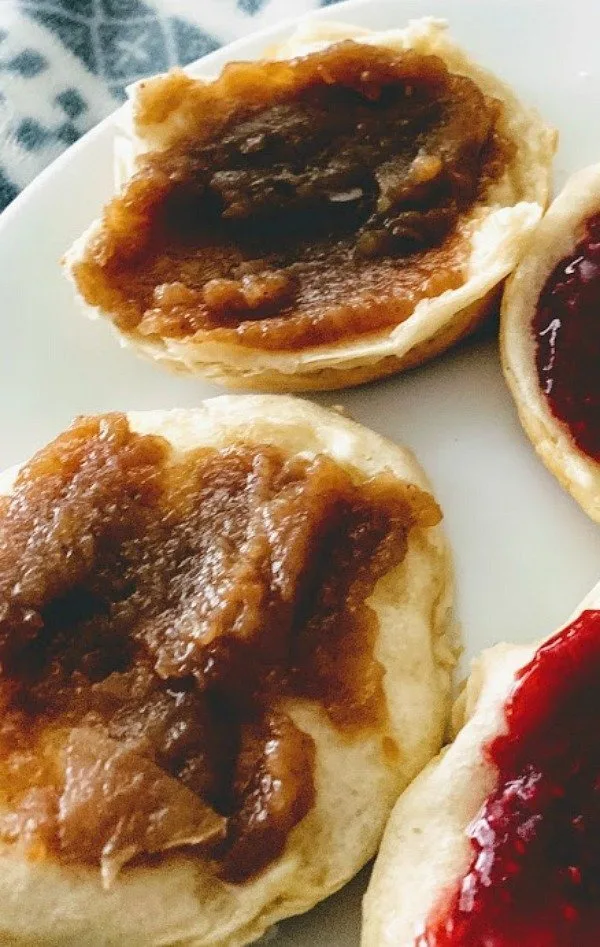
Now it is ready to enjoy! Serve apple butter warm or cold on your favorite biscuit or toast!
Are you ready to give it a try? If you feel a little overwhelmed, don’t worry! Just grab that Ball canning cookbook that I told you about from Amazon here! It has lots of canning tips and tricks!
You’ve got this! Be sure to tell me how it goes!
See you next time!
Deb

