
Santa Cookies and other Christmas Traditions
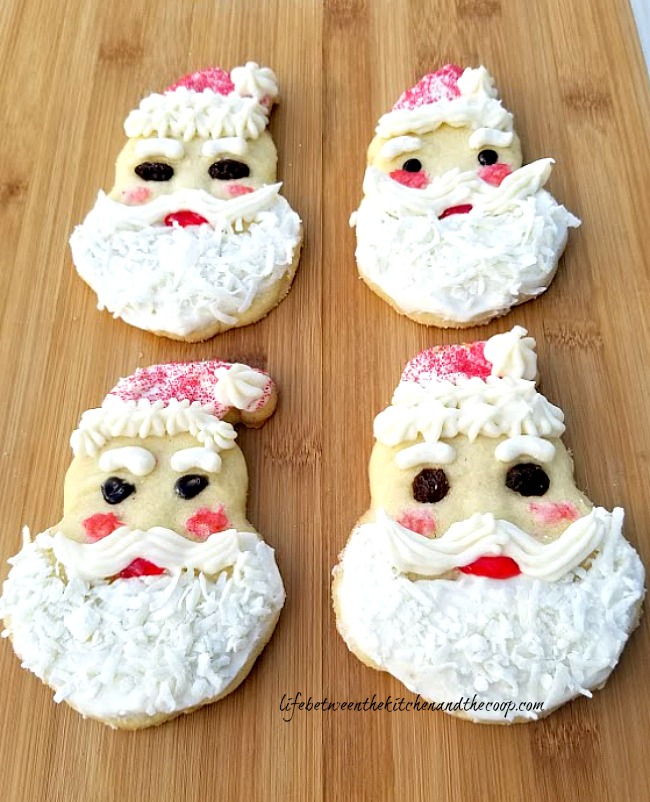
Since Christmas traditions are really on my mind now, this past weekend I made these cute Santa Cookies. They are one of the traditional Christmas recipes his family loves.
You might be thinking, “Christmas traditions? Already?” Yes, I know Thanksgiving comes first. Don’t get me wrong, I love Thanksgiving, too, but it doesn’t take THAT long to get ready for.
Christmastime is magical and to make it magical takes time and preparation. I have told you before how I like to make Christmas treats ahead of time and freeze them so that December isn’t so crazy. Well, I’m getting started on THAT tradition! 🙂
Santa Cookies and Other Christmas Traditions
This post contains ads.
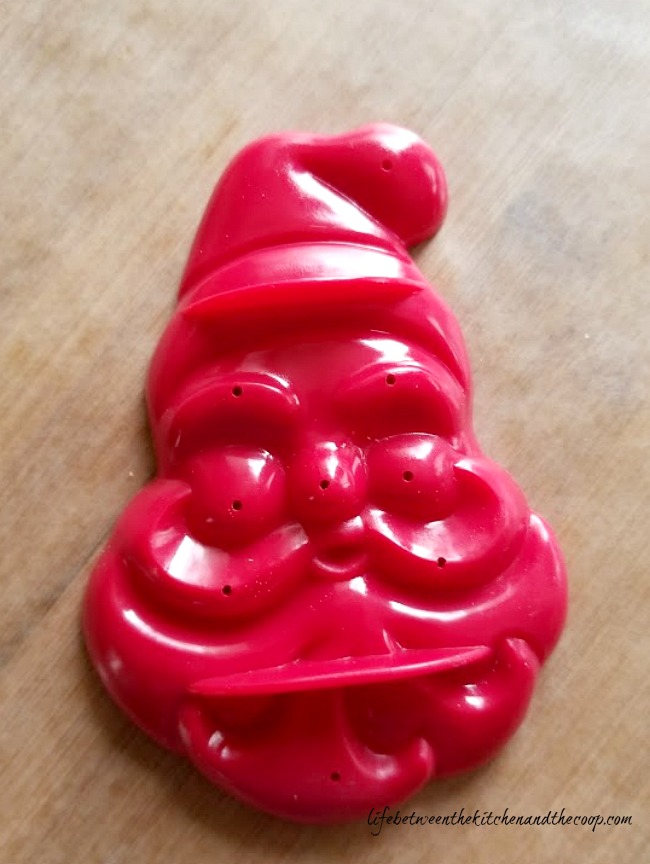
*It is important to note that you will need to have a 3-D Santa cookie cutter to make these cookies! I couldn’t find the exact one I have that my mother-in-law gave me, but I will share an affiliate link to a similar one that you can get from Amazon in this post. 🙂
Santa Cookies
These adorable Santas do require a 3-D Santa cookie cutter. A 3-D cookie-cutter outlines the face for you, which makes it easy to decorate. Don’t worry, you can get them from Amazon FAST!
Once you have a 3-D Santa cookie cutter, the first thing that you need is to make the dough.
Santa Cookies Ingredients
- 1/2 cup butter
- 1/2 cup shortening
- 2/3 cup sugar
- 3/4 tsp salt
- 1 tsp vanilla
- 2 eggs
- 2 2/3 cup flour
- For decorating:
- Raisins
- Red food coloring
- 1 Egg yolk
- Red sugar
- Frosting, white
- Frosting, black (if you want to use frosting for eyes instead of raisins)
- Red decorating gel
- Flaked coconut
*You will also want the 3-D Santa cookie cutter and will need to have supplies to pipe the frosting for the mustache, eyebrows, and portions of the hat.
Santa Cookies-Instructions
Place the butter, shortening, eggs, vanilla, and sugar in a large mixing bowl. Mix it well with a hand mixer.
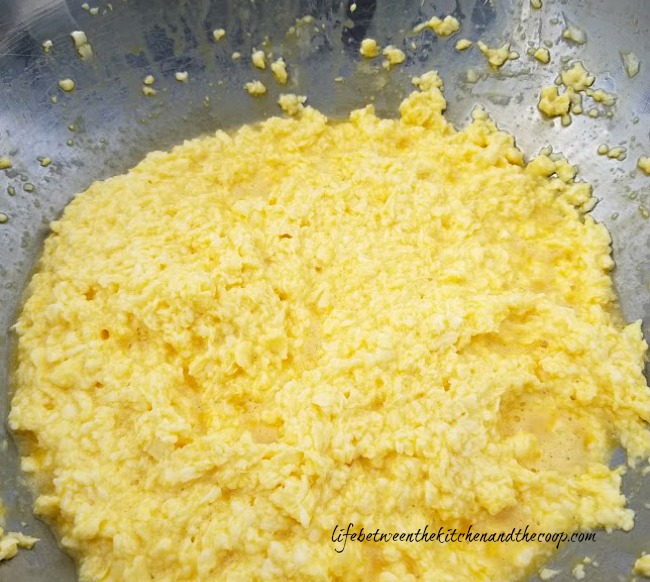
Add the salt. Next add the flour, a little at a time and mix it in at slow speed. (If you don’t start at a slow speed, you will have flour all over the place!)
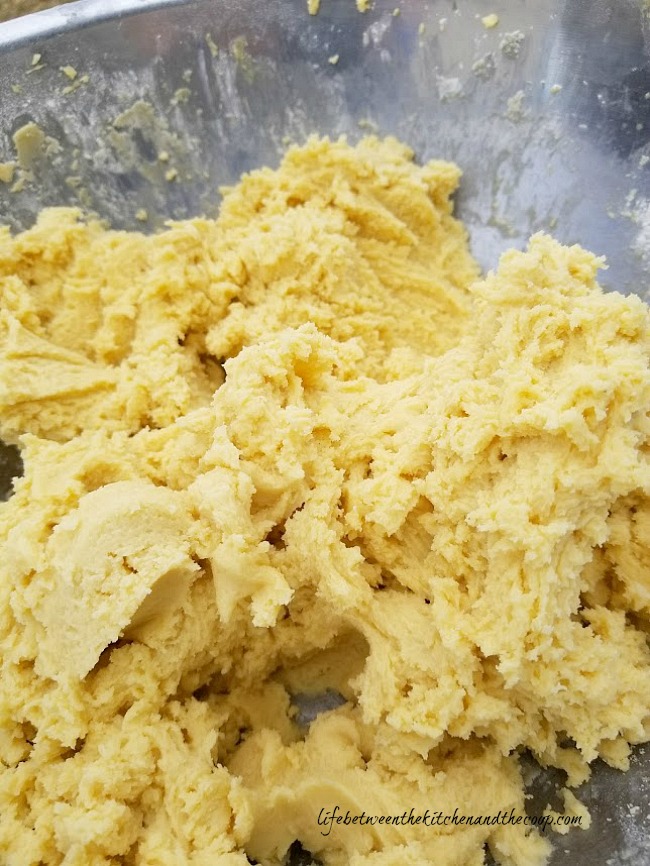
Yay! The dough is made. Now you roll it out on a floured counter.
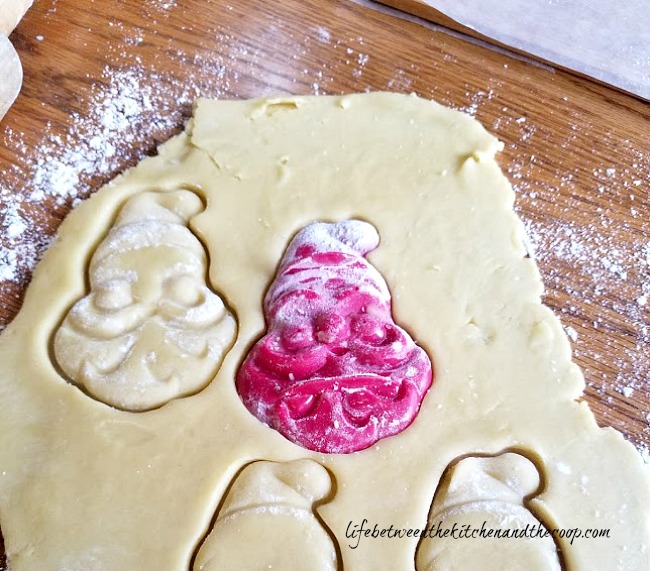
Before cutting out any cookies, spray the cookie cutter with cooking spray, then dip it in flour. That way the dough doesn’t stick to the inside of the cookie cutter.
Every few cookies that you cut out you will want to re-flour the cookie-cutter again (you don’t need to spray it every time, though.)
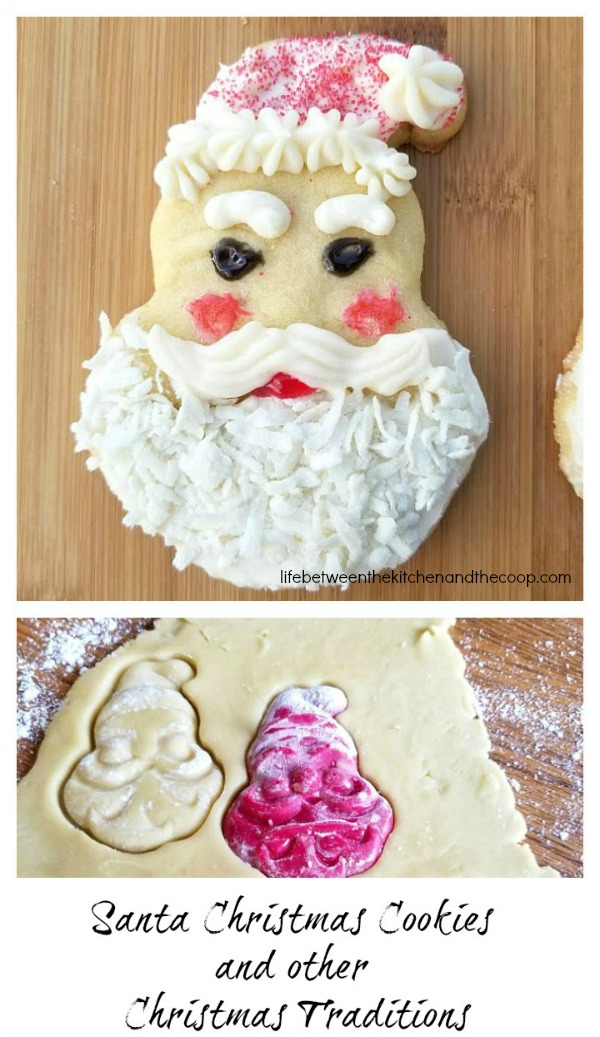
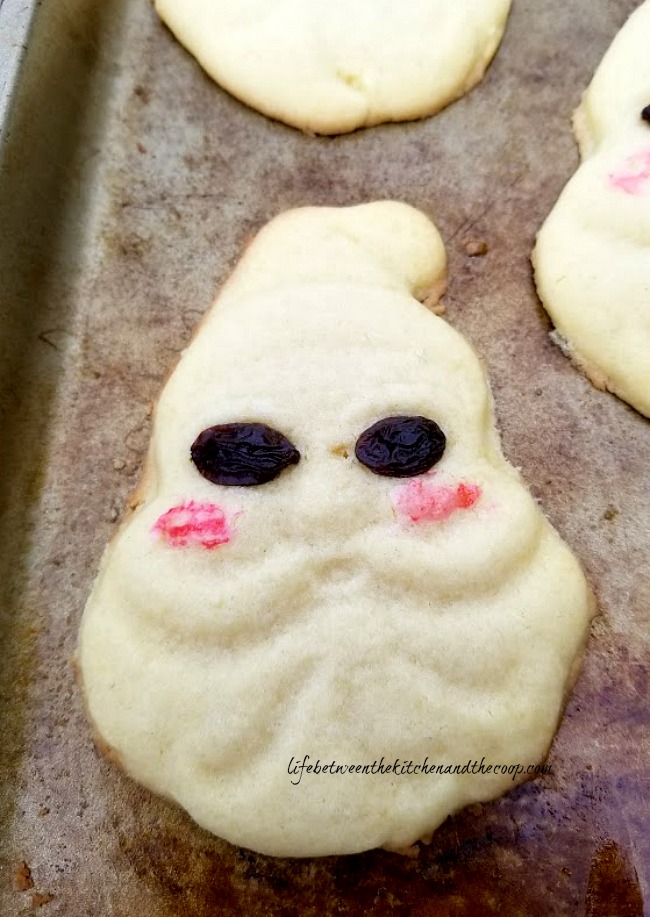
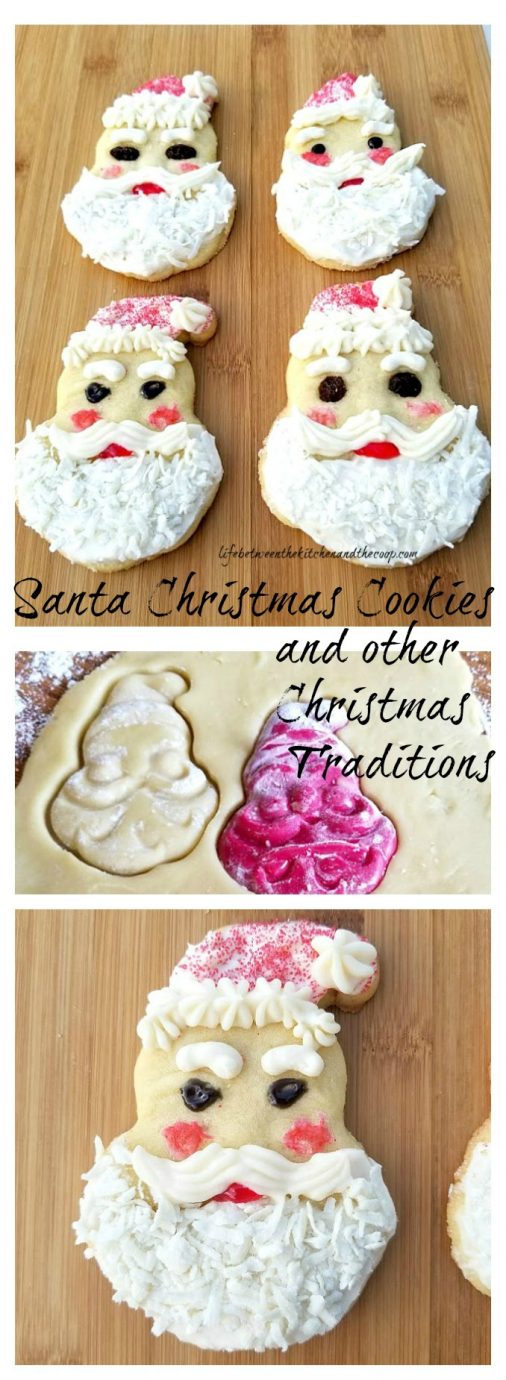
When you cut out the cookies, they should look like this:
*BEFORE BAKING THE COOKIES:
After you have cut the cookies out, place them on a baking sheet prepared with cooking spray.
If you are going to use raisins for the eyes, you will want to place them before baking. If you wait until after they won’t stick to the cookie. (For smaller eyes, you can cut raisins in half.)
For the rosy cheeks, put an egg white in a small dish, mix in a little red food coloring, then paint that on the cheeks. That should also be done BEFORE baking the cookies.
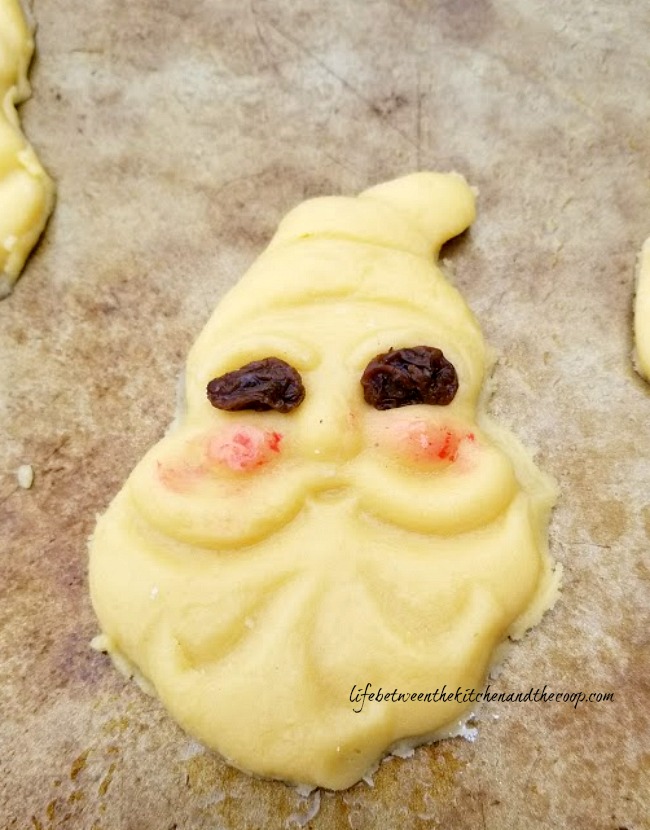
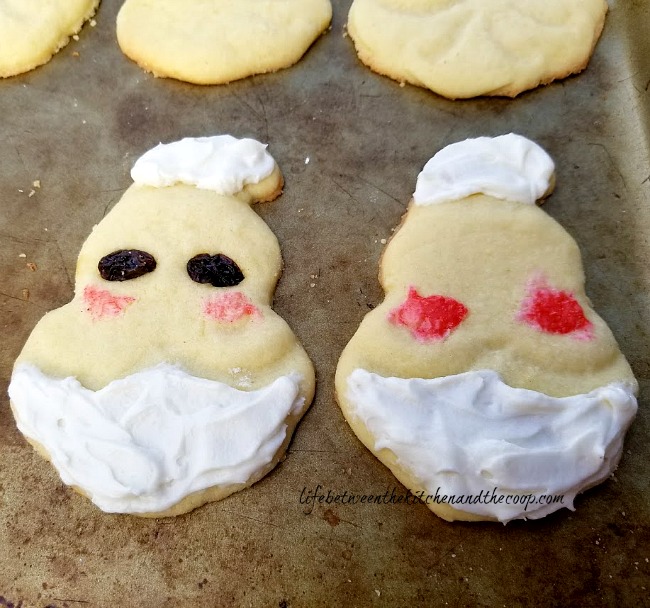
Bake the cookies at 350 degrees for 8-9 minutes. Allow them to cool. After they are baked, they should look like this:
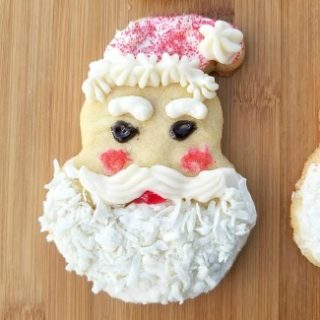
Next, use your white frosting and frost on the hat and the beard.
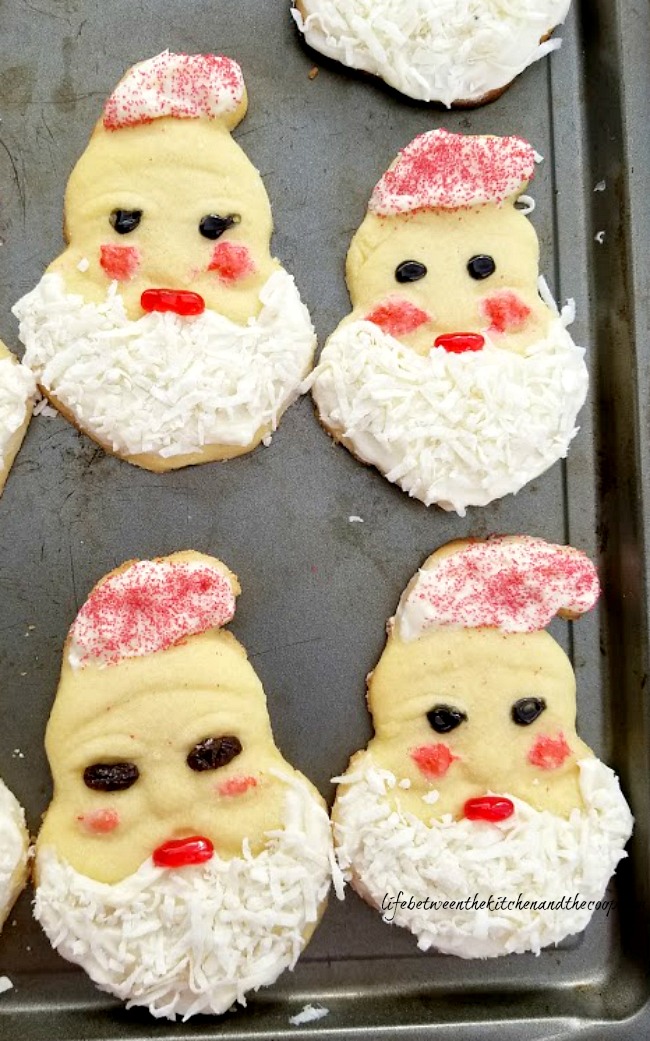
Now sprinkle the red decorative sugar on the frosting hat. You can brush away any excess that gets on the cookie with a pastry brush.
Use the red decorative gel (found in the baking section by the sprinkles) to make the mouth.

Give Santa a nice, fluffy-looking beard by putting coconut flakes on it.
If you didn’t use raisins for eyes, you can pipe on black frosting for the eyes now.
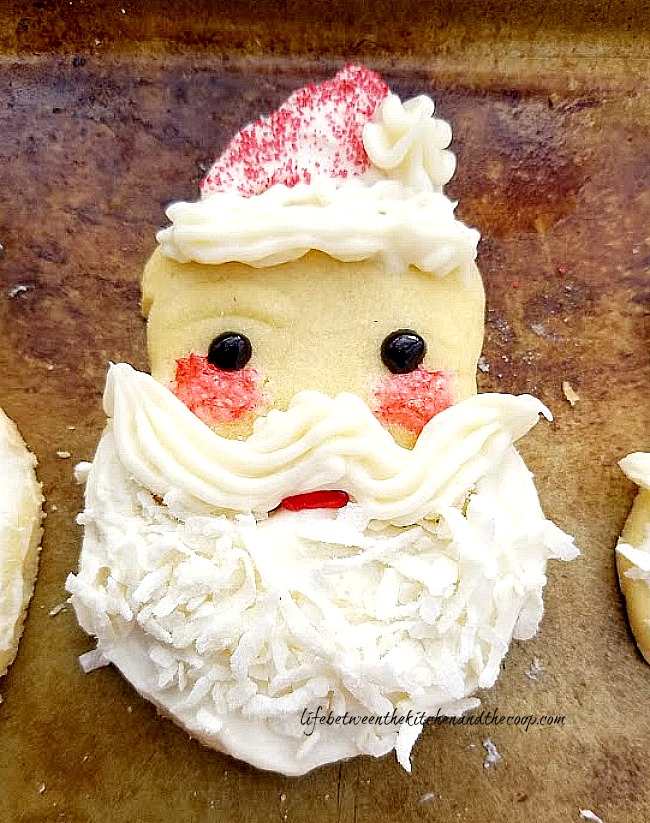
Now it is time to pipe on the eyebrows, mustache, and hat trim. To do this, put a coupler in your pastry bag before adding the white frosting. That way you can change tips.
(You will notice I used a different tip for the eyebrows than the one I used for the mustache and hat trim.)
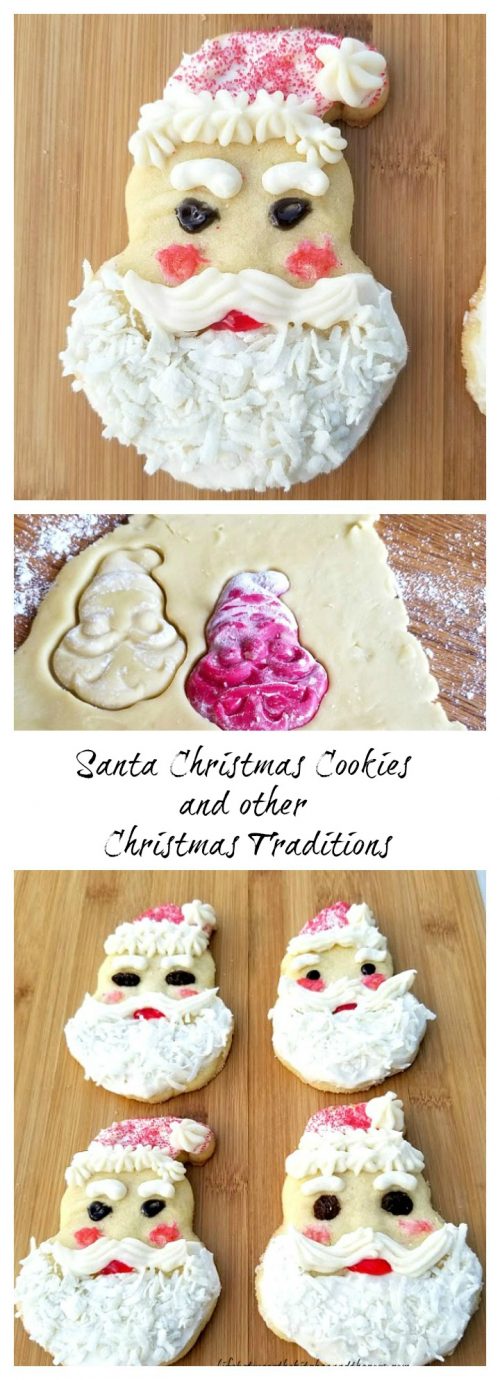
Voila! Santa is lookin’ pretty stylin’!
Here’s a printable recipe for your recipe file…
Santa Christmas Cookies
These adorable Santa cookies are the perfect treat for your Christmas party! They are a Christmas cookie tradition in our family. Watch the video to see how it is done! You'll need this 3-D Santa cookie cutter, so be sure to order it so you have it in plenty of time for Christmas!
Ingredients
- 1/2 cup butter
- 1/2 cup shortening
- 2/3 cup sugar
- 3/4 tsp salt
- 1 tsp vanilla
- 2 eggs
- 2 2/3 cup flour
- For decorating:
- Raisins
- Red food coloring
- 1 Egg yolk
- Red sugar
- Frosting, white
- Frosting, black (if you want to use frosting for eyes instead of raisins)
- Red decorating gel
- Flaked coconut
- *You will also want to have supplies to pipe the frosting for the mustache, eyebrows, and portions of the hat.
Instructions
- Place the butter, shortening, eggs, vanilla, and sugar in a large mixing bowl. Mix it well with a hand mixer.
- Add the salt. Next, add the flour a little bit at a time and mix it in at a slow speed. (If you don’t start at a slow speed, you will have flour all over the place!)
- Now you roll it out on a floured counter.
- Before cutting out any cookies, spray the cookie cutter with cooking spray, then dip it in flour. That way the dough doesn’t stick to the inside of the cookie cutter. Every few cookies you will want to re-flour the cookie-cutter again (you don’t need to spray it every time, though.)
*BEFORE BAKING THE COOKIES, but after you have cut the cookies out: place them on a baking sheet prepared with cooking spray.
- If you are going to use raisins for the eyes, you will want to place them before baking. If you wait until after they won’t stick to the cookie. (For smaller eyes, you can cut raisins in half.). If you don't want to use raisins for the eyes, you could just pipe some frosting for the eyes after the cookies bake.
- For the rosy cheeks, put an egg white in a small dish, mix in a little red food coloring, then paint that on the cheeks. That should also be done BEFORE baking the cookies.
- Bake the cookies at 350 degrees for 8-9 minutes. Allow them to cool.
- Next, use your white frosting and frost on the hat and the beard.
- Now sprinkle the red decorative sugar on the frosting hat. You can brush away any excess that gets on the cookie with a pastry brush.
- Use the red decorative gel (found in the baking section by the sprinkles) to make the mouth.
- Give Santa a nice, fluffy-looking beard by putting coconut flakes on it. If you didn’t use raisins for the eyes, you can also pipe on the black frosting for the eyes now.
- Now it is time to pipe on the eyebrows, mustache, and hat trim. To do this, put a cake decorating coupler in your pastry bag before adding the white frosting. That way you can change tips easily. (You will notice I used a different tip for the eyebrows than the one I used for the mustache and hat trim.) Voila! Your Santa cookie is done!
Notes
*It is important to note that you will need to have a 3-D Santa cookie cutter to make these cookies!
You will also want to have supplies available to pipe the frosting for the mustache, eyebrows, and portions of the hat.
Recommended Products
As an Amazon Associate and member of other affiliate programs, I earn from qualifying purchases.

Nutrition Information
Serving Size 1Amount Per Serving Calories 4020Total Fat 202gSaturated Fat 86gCholesterol 429mgSodium 2652mgCarbohydrates 497gSugar 224gProtein 59g
These adorable Santa Christmas cookies are just full of Christmas cheer, don’t you think?
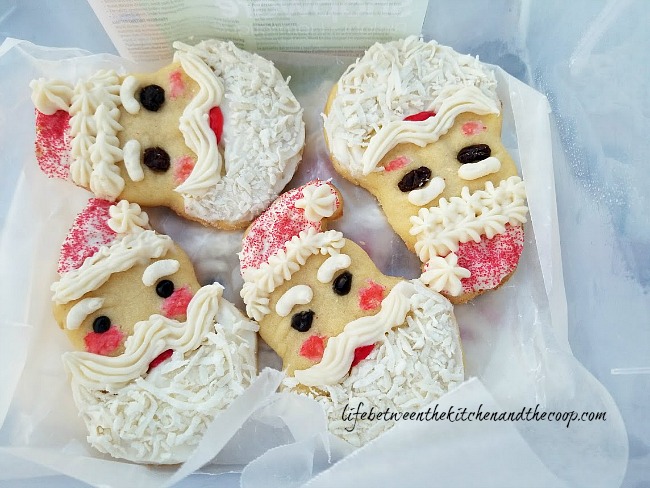
Here’s a little tip for storing these if you make them ahead of the holiday rush like I do: Freeze the Santa cookies on a baking sheet.
Once they are completely frozen, you can layer them in a large container, putting layers of waxed paper between each layer of cookies (see the bottom picture of the collage above).
Once you have done that, put them in the freezer. That way all of your pretty cookie decorating will stay intact!
Other Christmas Tradition Ideas
Another Christmas tradition in our family is making homemade kiefla, which is a Romanian Sweetbread (my husband has Romanian ancestry). We sometimes have it for breakfast on Christmas, other times we just have it for a snack!
Elizabeth from The Homemaker’s Journal and her family leave cookies out for Santa along with a glass of milk and carrots for the reindeer. This year they will also be making reindeer food to sprinkle on the lawn. That way Santa’s reindeer are sure to find their house!
Kristina from Planes and Balloons‘ husband reads The Night Before Christmas to their family every Christmas Eve.
Jenny from Jenny at the Gingerbread House decorates a gingerbread house with her family every Christmas.
On Christmas morning Kim from Baking with Mom and her family open Christmas gifts by the fire and have homemade cinnamon rolls.
Tammy from 3 Different Directions has apple pie waffles every Christmas morning with her family.
Julia from Savory Tooth gets out the Christmas Crackers for after-dinner fun, wearing silly hats and all.
Shellie from Craftbits.com uses paper bag advent calendars for a family tradition. She lives in Australia so Christmas is during a long school break. Shellie fills the bags with activities to keep the kids busy.
Hayley from Rise and Renovate has the tradition of similar Christmas decor to that of her family. You should click through and look—It’s so cute!
Lora from Craftivity Designs goes out with her family and they cut down their own Christmas tree!
Robin from Encouraging Moms at Home makes a Christmas Countdown Prayer Chain with her family.
Heather from Made in a Pinch watches The Polar Express with her family every year, sipping hot chocolate, and then they get to bed early!
A Christmas Eve Gift Box is a tradition for Rachel and Smart Moms Smart Ideas and her family.
Kenyatta from My Design Rules does 12 days of small gifts for her husband every Christmas. Since her son began to feel a little left out, this year she will be wrapping 12 books and hiding them for him to find. (Think nearly free really good books from the thrift store!)
Katelyn from What’s up Fagans? takes family pictures and sends out Christmas cards in the mail at Christmastime.
I have to say researching for this part of the post has been so fun. I love hearing what other people do at Christmas. It gives me inspiration for my own life and it’s just plain fun!
I hope this post has given you some ideas that you can be excited to start with your own family!
See you next time!
Deb

3 Responses