How to Plant Starter Plants for Your Garden
I want to share with you how you can plant starter plants. Basic garden ideas can still be intimidating if you are a newbie, but you should really be doing this!
Planting starter plants will help you save money by not having to buy them from the nursery! There’s NO reason to spend 50 bucks or more on starter plants for your garden when you can just grow them yourself quite easily and so inexpensively!
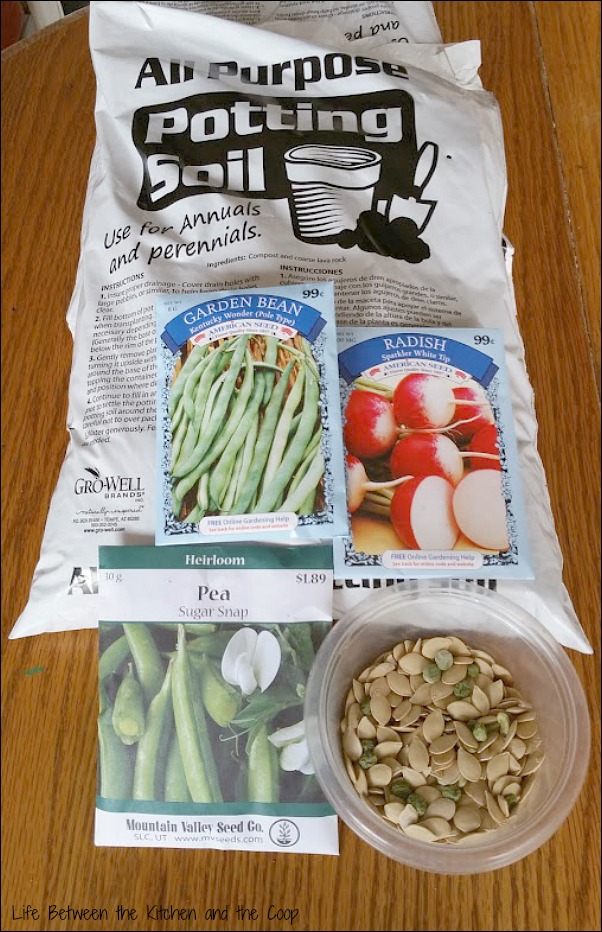
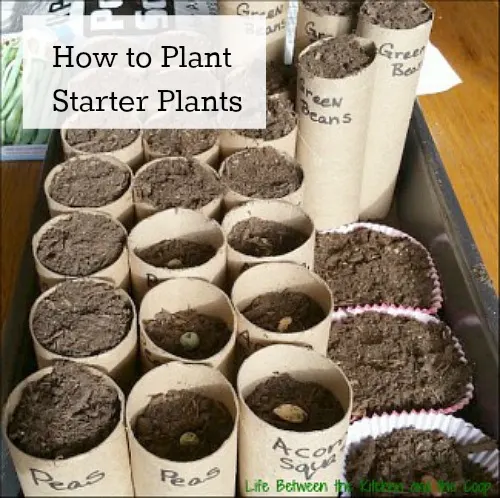
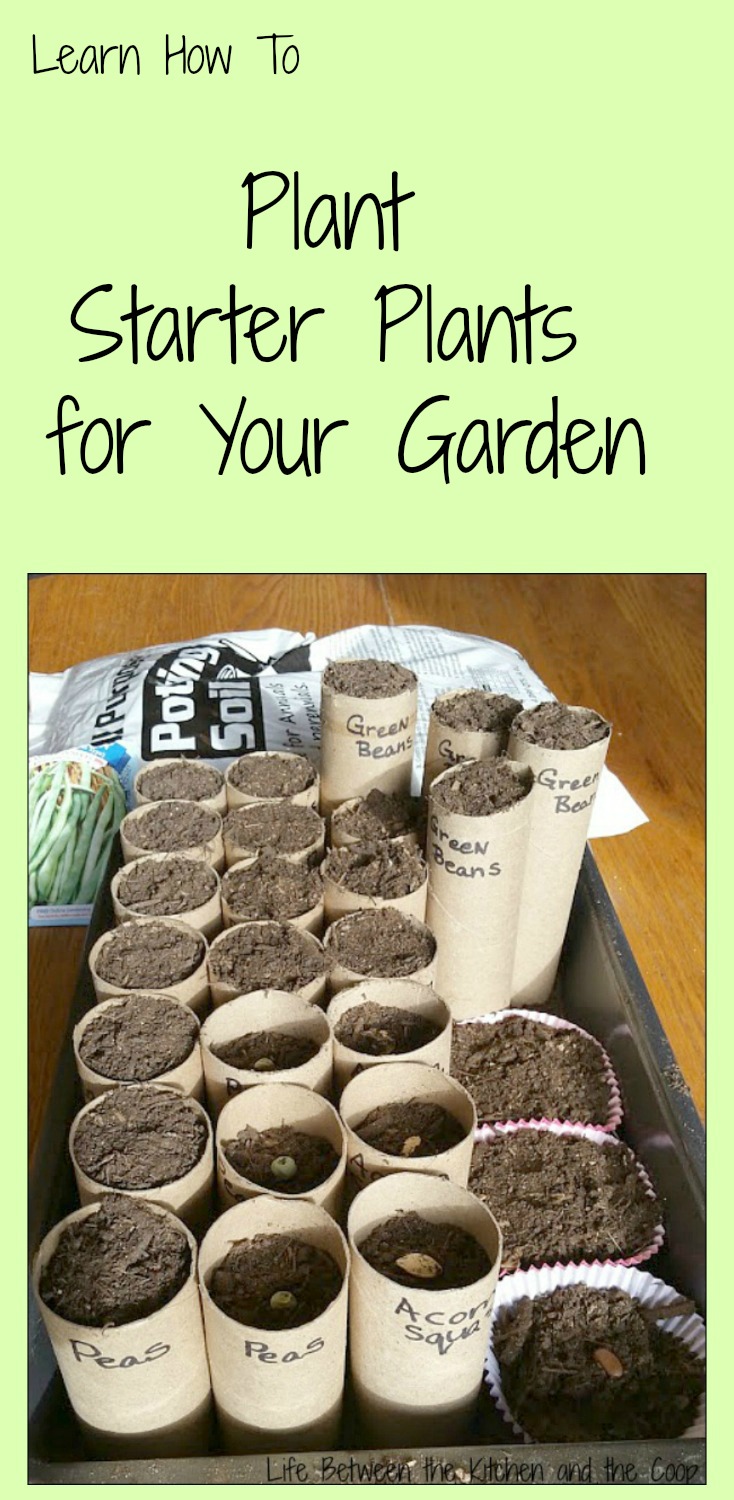
All you need to plant starter plants are seeds, potting soil, water, a sharpie, containers in which you can plant your starter plants, and a 9×13 pan (if you are using open-bottom containers like toilet paper rolls-see pictures).
There are probably a lot of different things around your house right now that you could use as containers for your starter plants, so don’t spend money on containers! You can grow starter plants in toilet paper tubes, paper towel tubes (cut in half), cupcake papers, empty yogurt containers…the sky’s the limit! Just use your imagination!
How To Plant Starter Plants
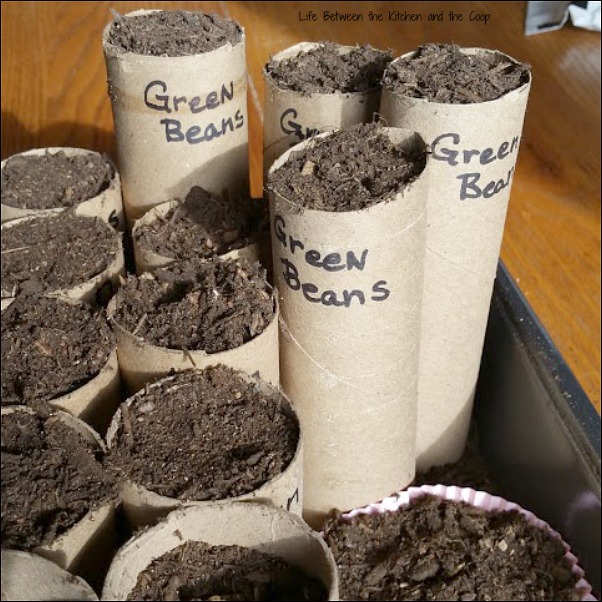
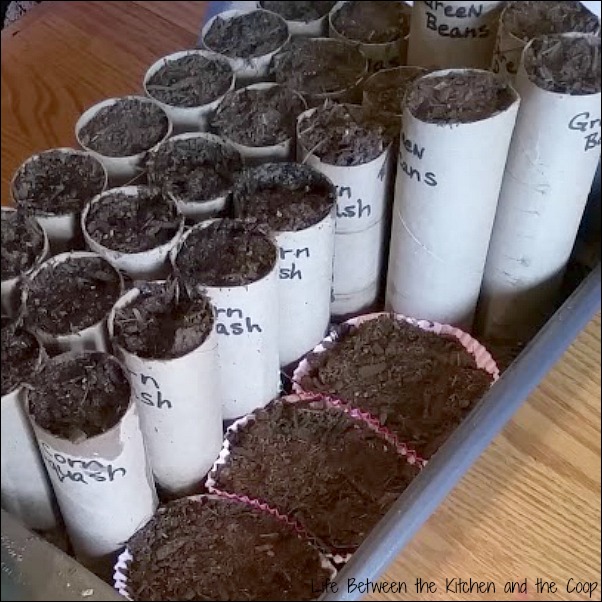
First you need to choose your containers. If you use an open bottom container like a toilet paper roll or a paper towel roll that’s cut in half you will obviously want to set them into the pan before you fill them with dirt [#obvious]. If you use plastic containers (such as yogurt or cottage cheese containers), wash them well with hot water and then CAREFULLY poke a few small holes in the bottom of the container for water drainage.
Before you start filling them, label your containers with a sharpie so that you know what is planted in each one. If you don’t label them, you will run into the problem that you don’t know what’s growing in it and get your plants mixed up. We all like an orderly garden you know, the peas in one row, the carrots in another— that kind of thing. (This pic was taken after I finished planting, but you get the idea how to label them…it’s not rocket science, right?)
How to Grow Starter Plants Indoors
Fill the containers with potting soil, leaving about an inch at the top.
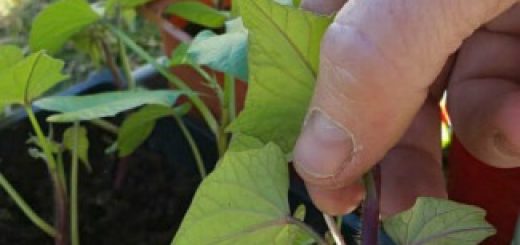
Put in the seed. (If the container is small in diameter, like a toilet paper roll, only put one seed in. If it has a larger diameter like a cottage cheese container, read the seed package and see how far apart the seeds should be. You may be able to put two or three seeds in, depending on the type of plant and how far apart they need to be.)

Now you just top them off with soil like this…
Finally, you need to water the starter plants. Because the soil is pretty dry you will need to water them a little more generously the first time that you water them.
After that, just check the soil every day (you can stick your finger about an inch into the dirt to check moisture) and water as needed!
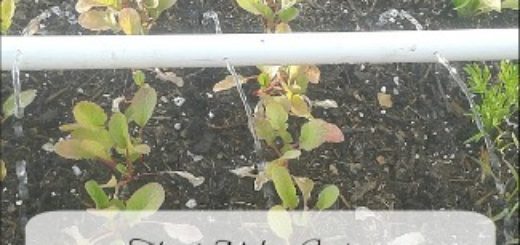
*Be sure to put your starter plants where they will have plenty of sunlight.
How to Plant Starter Plants for Your Garden
If you are a newbie, gardening can be intimidating. But beieve me when I say that you can learn how to plant starter plants! It's so easy! It will help you save money by not having to buy them from the nursery! There’s NO reason to spend 50 bucks or more on starter plants for your garden when you can just grow them yourself quite easily and so inexpensively! All you need are seeds, potting soil, water, a sharpie, containers in which you can plant your starter plants, and a 9×13 pan (if you are using open-bottom containers like toilet paper rolls-see pictures). There are probably a lot of different things around your house right now that you could use as containers for your starter plants, so don’t spend money on containers!
Materials
- Seeds
- Potting soil
- Water
- Sharpie
- Containers in which you can plant your starter plants
- 9x13 pan (if you are using open-bottom containers like toilet paper rolls-see the pictures)
Tools
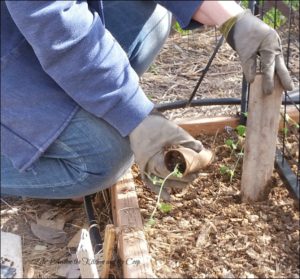
- No tools are needed right now, but a garden claw and a garden trowel will be useful when you transplant the grown starter plants into your garden.
Instructions
- First you need to choose your containers. If you use an open bottom container like a toilet paper roll or a paper towel roll that's cut in half you will obviously want to set them into the pan before you fill them with dirt [#obvious]. If you use plastic containers (such as yogurt or cottage cheese containers), wash them well with hot water and then CAREFULLY poke a few small holes in the bottom of the container for water drainage.
- Before you start filling them, label your containers with a sharpie so that you know what is planted in each one. If you don't label them, you will run into the problem that you don't know what's growing in it and get your plants mixed up. We all like an orderly garden you know, the peas in one row, the carrots in another--- that kind of thing. (This pic was taken after I finished planting, but you get the idea how to label them...it's not rocket science, right?)
- Fill the containers with potting soil, leaving about an inch at the top.
- Put in the seed.
- Top the starter plants off with a little more soil.
- Water the starter plants.
- After that, just check the soil every day (you can stick your finger about an inch into the dirt to check moisture) and water as needed.
Notes
There are probably lots of things around your house right now that you could use as containers for your starter plants, so you don't need to spend money on containers!
You can grow starter plants in toilet paper tubes, paper towel tubes (cut in half), cupcake wrappers, empty yogurt containers...the sky's the limit! Just use your imagination!
Be sure to put your starter plants where they will have plenty of sunlight
If you want to read more about gardening and the things you can grow (and cook) from your garden, click here for my gardening posts. Now it’s your turn! Give it a try. You have learned how to plant your own starter plants. It’s time to get to it! Let me know how it goes. Trust me, you’ve got this!
See ya next time!
Deb
P.S. Once your starter plants have grown enough to be ready to transplant, check out my post that teaches you how to transplant your starter plants.

5 Responses