Our custom-built garden irrigation system has been one of my husband’s best garden ideas. My husband is a handy guy, but even if you aren’t so “handy”, it is easy to have your irrigation system custom-made. The great thing about the garden irrigation system that my husband made is you can water your garden section by section if you want to, because it has valves to shut off sections that you don’t want to water. I thought it was great and he said it wasn’t that difficult to do, so I thought I would share it with you! It is made from PVC pipe and some connectors. Mostly things you can just fit together so it doesn’t require tons of handyman skills! Since everyone’s garden sizes are different, of course I couldn’t tell you how many of each piece you need, but you can use the principles in this post, do a little math, and you should be good to go!
How to Make a Custom-Built Garden Irrigation System
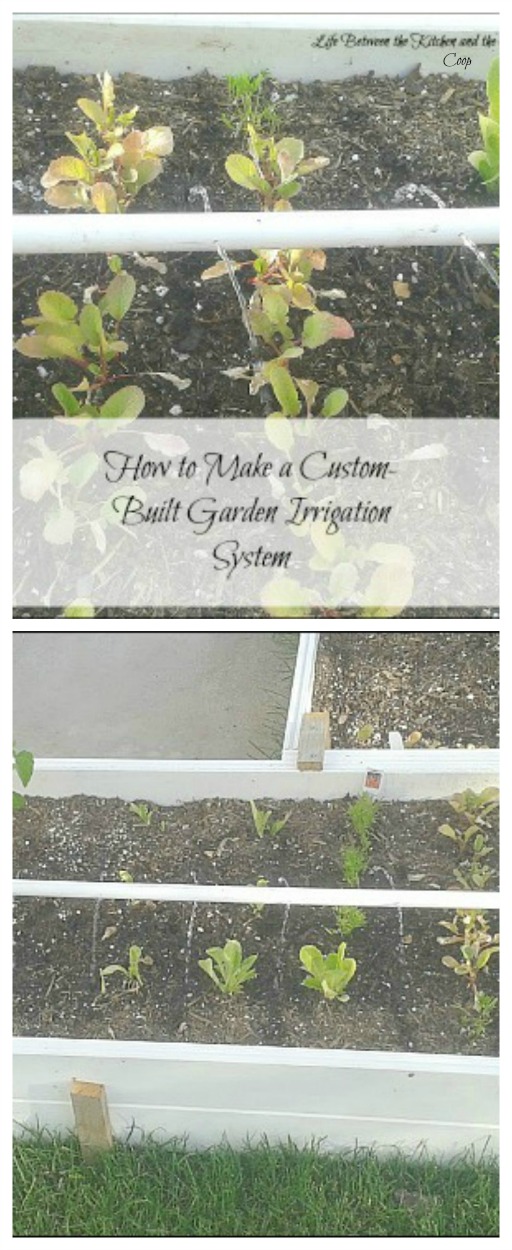

First, here’s a quick video for you visual learners, followed by step-by-step instructions 🙂
Garden Irrigation Supplies
1/2 inch diameter PVC pipe
Elbow connectors/T-connectors/Hose connector (depending on your garden size and shape)
PVC glue
Duct tape or aluminum HVAC tape
Drill with small drill bit
Garden hose attachment
Valves (if you want them)
Garden hose
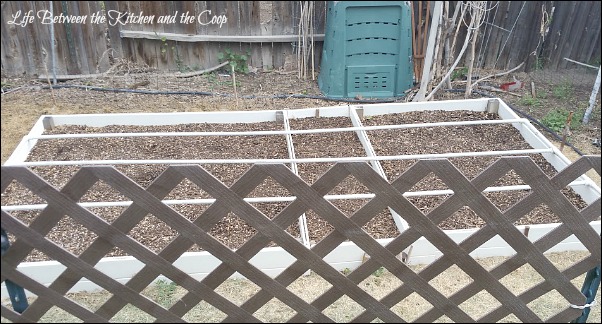
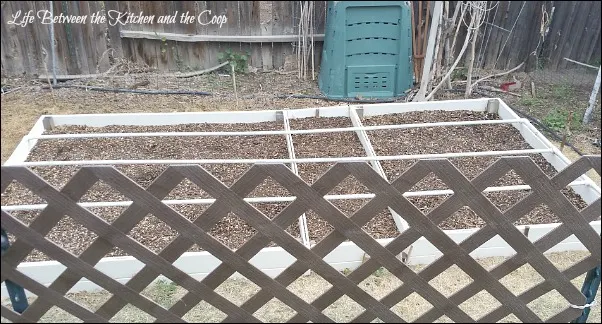
We (ok…he) built our garden irrigation system last year. This spring I had my husband take it apart a bit so that you could see how easy it was to put together. (It literally took like two minutes to put it back together when we were preparing for this post-easy enough I could do it.) The other thing that is great about it is how easy it is to dismantle so that it isn’t in your way when you are planting seeds or starter plants!
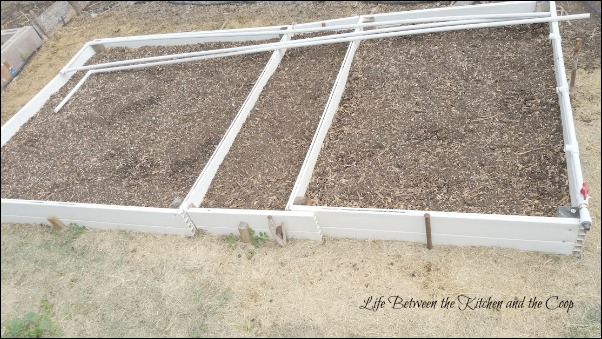

You will notice in the picture above that there are a couple of planks going across the middle of the garden box. Those are to support the PVC pipes.
How to Build Your Garden Irrigation System
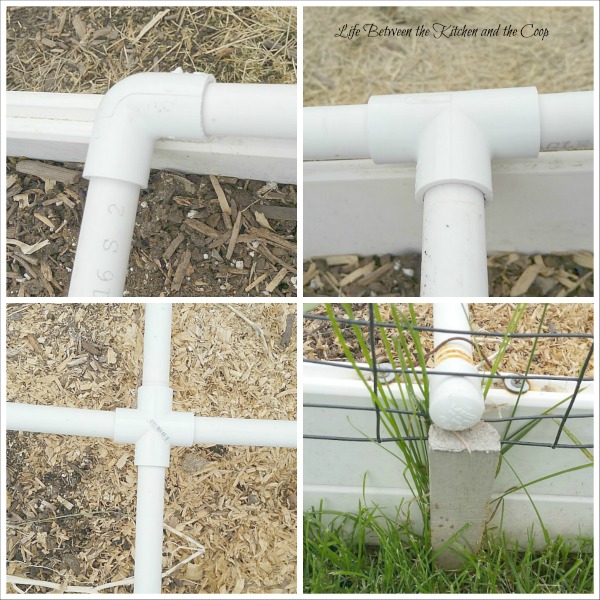
In order to do this you will want to measure the length of each aisle in your garden so that you know what length PVC pipe pieces you will need. You will also need to measure the distance between rows to know how long the shorter pieces of PVC pipe should be. The shorter pieces of PVC connect the rows. See the picture below:

On the pieces that will run the length of the garden rows, you will need to drill irrigation holes. Using a small drill bit, drill holes along each piece of piping. The holes should be about 8 to 10 inches apart and go through both sides of the pipe. The holes are where the irrigation water will come out to water your plants. When you are drilling through the PVC pipe, start out at a slow speed and then as it starts to “grab” the pipe you can speed the drilling up. Once the irrigation holes have been drilled, you are ready to assemble your irrigation system!
On the outermost row of the garden use an elbow connector instead of T-connectors to connect the end piece of PVC with the piece of PVC that runs the length of the garden. The inner rows of the garden irrigation system will be connected with T-connectors. There are also four-way connectors available if you need to send the water four different directions. At the terminal end of each piece of pipe, you can use a plain end piece so that water isn’t being wasted pouring out the end into your grass. The video later in this post explains this better. The photo below shoes examples of the connectors and end pieces.

If you want a little help choosing connectors, click here for a list of affiliate links for 1/2 inch pvc pipe connectors.
***It is important that the connectors you get are made to fit the size of pvc pipe you have (for this project it should be 1/2 inch pvc pipe)!
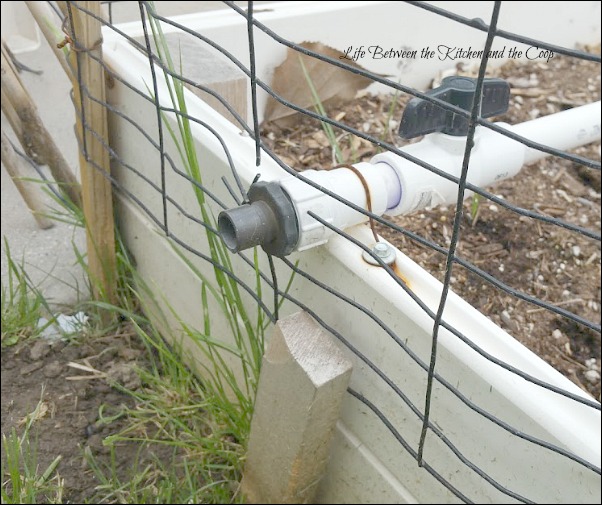
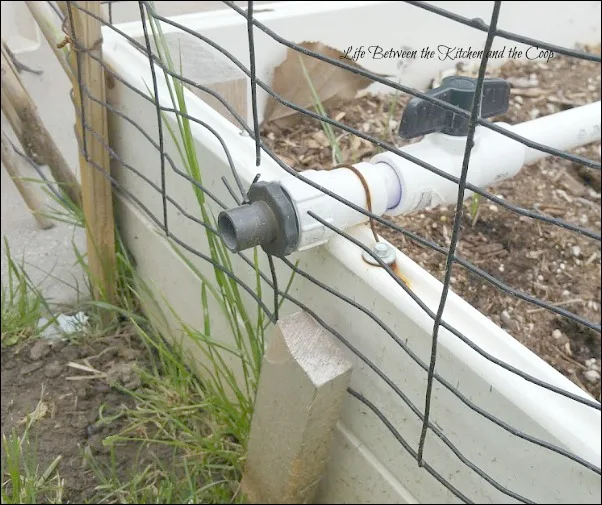
If you want to, you can glue all of the joint connections with PVC glue, however the pieces usually fit together well and you may not need to glue it. The only part of our custom built garden irrigation system that we used the PVC glue to connect was the part where we attached the hose connector (see picture below):
A little side note: If you discover one of the holes you drilled is letting water drip in an area of the garden that you don’t want water to drip, you can put either duct tape or aluminum HVAC tape over the hole to keep water from coming out of it.
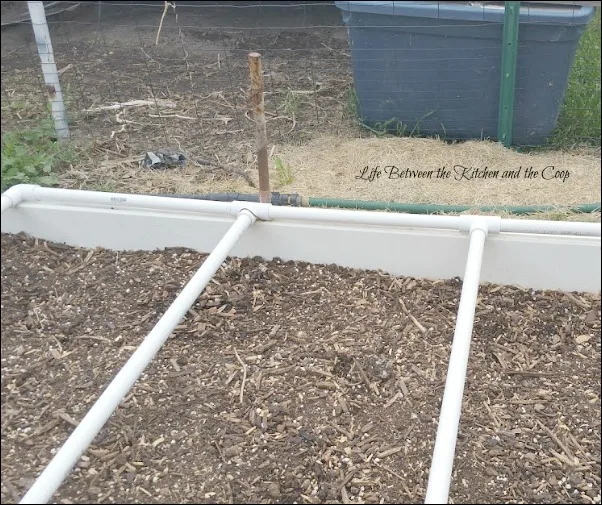
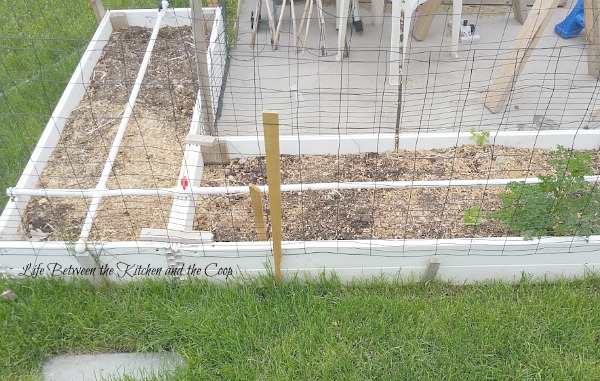
Here is the garden irrigation system in one of our garden boxes (we have several), which we are in the process of planting:
Here is another garden box. This one uses a four-way connector:

Once your garden irrigation system is all put together, you can just connect the hose to the connector and turn it on to water your garden! Now wasn’t that just the easiest custom built Garden Irrigation System ever?
See you next time!
Deb
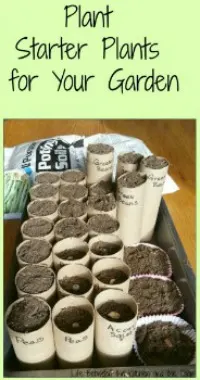
P.S. If you need a little help getting started with your garden, click here and check out my post How to Plant Starter Plants for Your Garden.